Custom Logo Water Bottles for Events and Promotions?
Your clients need promotional items that stand out, but their budget often goes to cheap pens and flimsy tote bags that end up in the trash. This not only wastes their marketing dollars but also associates their brand with low-quality, disposable junk.
The solution is a high-value, reusable product that people actually want to use. A premium custom logo water bottle acts as a mobile billboard, providing daily brand exposure while promoting a positive, sustainable image. This is the smart investment your clients are looking for.
A few years ago, a local real estate agency asked me for a large order of cheap ceramic mugs for a community event. I could have just taken the order, but I saw a bigger opportunity. I asked them, "Do you want people to use this item once, or do you want them to carry your brand with them every single day?" I showed them a sample of a sleek, sublimated stainless steel water bottle with their logo beautifully printed in full color. The cost per item was higher, but the value was monumental. They made the switch, and the feedback was incredible. They weren't just giving away a mug; they were giving a high-quality gift that made their brand look modern and valuable. This is the key to building a profitable B2B customization business.
How to make a water bottle logo?
A client sends you their logo as a tiny, pixelated image and expects a flawless, full-wrap masterpiece on a water bottle. Printing a low-quality file will make your work look amateurish and lead to a disappointed client and a potential refund demand.
To prepare a logo for a water bottle, you must start with a high-resolution vector file (like an AI, EPS, or SVG). Convert the colors to a CMYK profile for print accuracy and simplify any overly complex elements. Finally, adapt the design to fit the bottle's shape, often creating a vertical version.
![]()
Dive Deeper: From Client File to Print-Ready Masterpiece
For a designer like Emma, this is where your expertise creates real value. You are the quality control expert who ensures the final product is perfect. Educating your clients on file types is part of the job. I tell my clients, "Give me a great file, and I'll give you a great product." It sets a professional standard from the start.
1. Vector is King: The Non-Negotiable Rule
The first thing you must ask for is a vector version of the logo. A vector file is made of mathematical paths, not pixels. This means you can scale it to the size of a billboard or a pen with zero loss of quality. A raster file (like a JPG or PNG) is made of pixels, and when you enlarge it for a water bottle wrap, it becomes a blurry, pixelated mess.
| File Type | Why It's Good/Bad for Sublimation | My Tip |
|---|---|---|
| AI, EPS, SVG | Excellent. These are vector files. They are infinitely scalable and ensure crisp, clean lines for a professional finish. | Always request one of these first. This is the gold standard for professional printing. |
| Maybe. A PDF can contain vector or raster information. You must open it in a program like Adobe Illustrator to check. | If a client sends a PDF, verify its contents. Don't just assume it's a vector. | |
| PNG | Use with caution. PNGs can have a transparent background, which is good. But they are still raster files. Only use them if they are very high resolution (300 DPI at the final print size). | Good for complex photo-like elements, but not for logos that need sharp edges. |
| JPG | Avoid. JPEGs are raster files that use lossy compression and don't support transparency. They're built for web photos, not for high-quality printing. | I almost always reject JPG logos and ask the client for a better format. |
2. Design for the Canvas: Think in 3D
A water bottle is not a flat t-shirt. It's a curved, three-dimensional object. A wide, horizontal logo that looks great on a website will look distorted and be hard to read when wrapped around a cylinder. Your job is to adapt the logo. For many brands, this means creating a "stacked" version where the elements are arranged vertically. Always create your design in a template that matches the exact dimensions of your sublimation blank.
How do I create my own water bottle brand?
You're a skilled printer, but you feel stuck just fulfilling other people's orders. Competing on price for small, one-off jobs is a race to the bottom, and you want to build your own valuable asset instead of just renting out your time.
Create your own water bottle brand by first identifying a passionate niche community, like rock climbers, book lovers, or urban gardeners. Develop a unique design style that speaks directly to them, source high-quality sublimation-ready bottles, and market your brand through targeted social media and online marketplaces.
Dive Deeper: From Printer to Brand Owner
This is the leap I made. I went from making custom items for others to creating my own product lines. The most successful lines were always hyper-focused. Instead of "Tumblers for Everyone," I created "Tumblers for Nurses" or "Mugs for Teachers." This strategy lets you build a real connection with a specific audience. A strong niche brand is an asset you can grow and even sell one day.
Step 1: Find Your Passionate Niche
The biggest mistake is trying to appeal to everyone. A brand for everyone is a brand for no one. Pick a community you understand or are passionate about.
- Hobbies: Hikers, knitters, fishermen, gamers, classic car enthusiasts.
- Professions: Nurses, teachers, software developers, electricians.
- Identities: Dog moms, cat dads, vegans, book lovers.
- My Tip: Go to online forums like Reddit or Facebook Groups for these niches. See what kind of jokes, sayings, and imagery they use. That's your design inspiration.
Step 2: Develop Your Brand Identity
This is where a designer like Emma shines. Your brand is more than just a logo. It's your voice, your colors, and your design style. Create a cohesive look for all your bottles. Do you want your brand to be funny and edgy? Or calm and inspirational? Make a decision and stick to it. This consistency is what builds brand recognition.
Step 3: Source, Produce, and Market
Once you have your niche and brand identity, the rest is execution.
- Source: Find a reliable supplier for high-quality, sublimation-ready water bottles. Don't go for the cheapest option; your product quality is your brand's reputation.
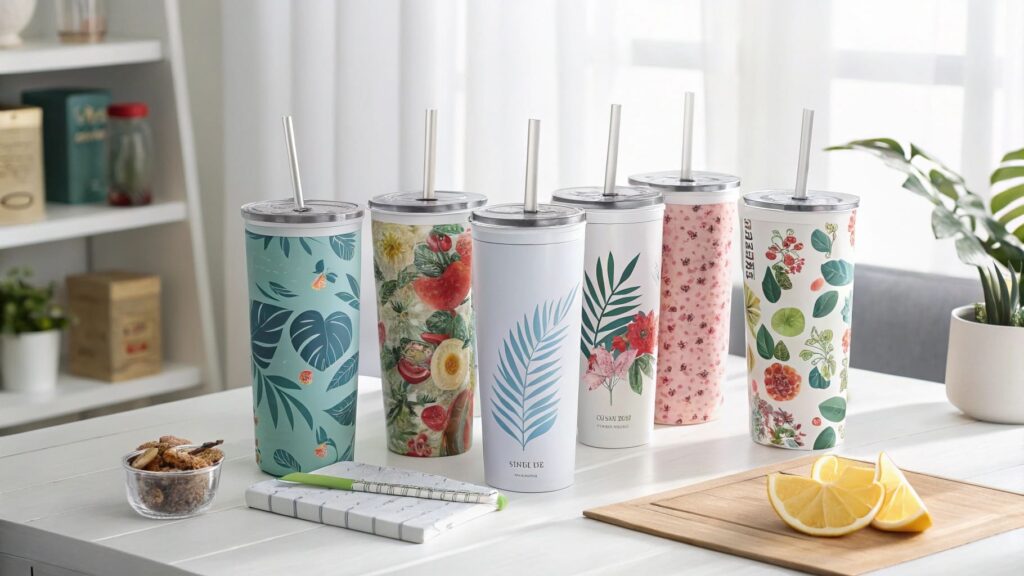
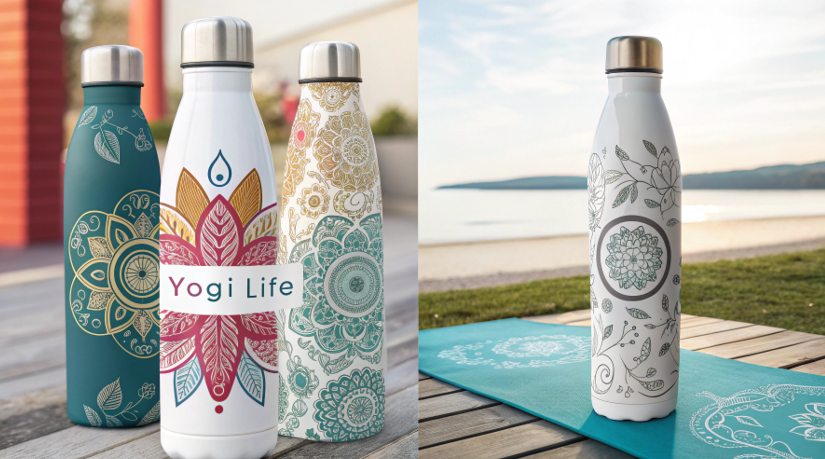
- Produce: Create 5-10 strong designs for your launch. Make beautiful mockups that show your bottles in a lifestyle context relevant to your niche (e.g., a yoga bottle next to a mat).
- Market: Sell on Etsy, your own Shopify store, or at local markets. Use social media like Instagram and Pinterest to post your beautiful mockups and use hashtags relevant to your niche to attract your target customers.
What are popular water bottle customization options?
You're offering a basic name-and-logo service, but you see competitors offering more exciting options. To command a premium price and stand out, you need to expand your customization capabilities and offer what modern customers really want.
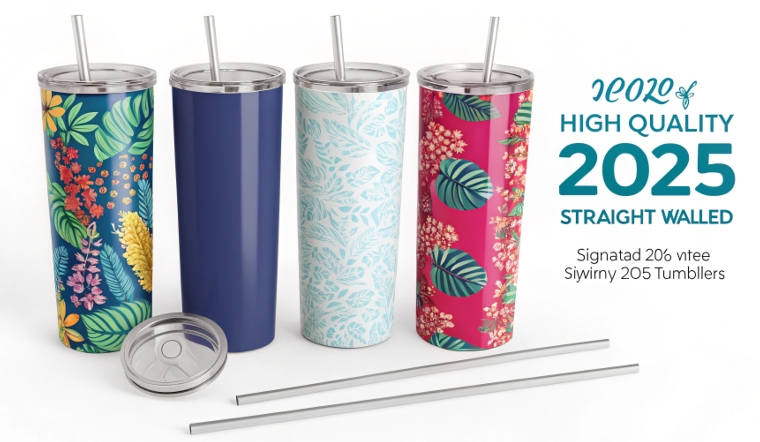
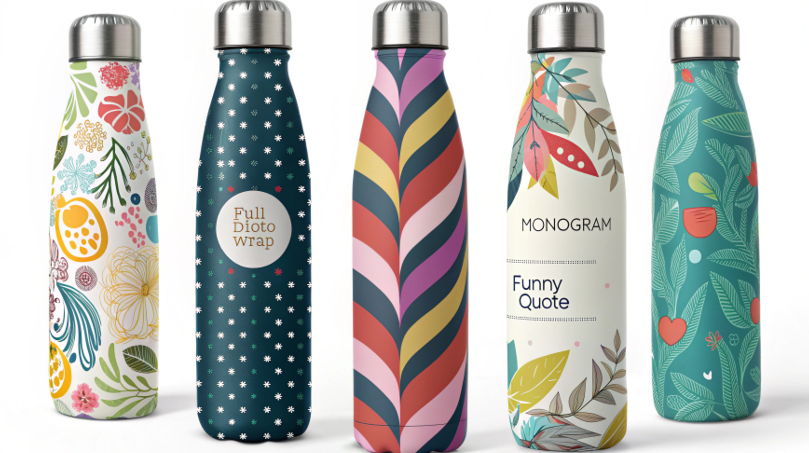
The most popular customization options go beyond a simple logo. They include full-wrap photo collages, custom patterns, individual names or monograms, and quote-based designs. Offering a mix-and-match system with different lids, handles, and colors is also highly sought after.
Dive Deeper: Tiers of Customization to Maximize Profit
I structure my offerings into tiers. This allows me to capture everything from a simple corporate order to a highly personal, high-margin gift. By offering different levels of complexity, you can upsell clients and give them exactly what they want. Emma can use this framework to build product listings that are easy for customers to understand.
Tier 1: The Simple & Scalable (Good for B2B)
- What it is: A single logo or a single line of text (like a name or monogram).
- Process: Very easy and fast to design and print. Can be done in bulk quickly.
- Pricing: This is your base price. It's profitable on volume.
- Best For: Corporate events, sports teams, school functions, promotional giveaways.
Tier 2: The Personalized (Good for B2C)
- What it is: Unique designs for each bottle. Think full-wrap photos of pets or kids, personal quotes, or intricate patterns.
- Process: More design time is needed per item. Emma's design skills are essential here.
- Pricing: Charge a premium or a "design fee" for this service. The perceived value of a photo collage of a customer's family is extremely high.
- Best For: Individual gifts, Etsy sales, creating truly unique one-of-a-kind items.
Tier 3: The Full Package (The Upsell)
- What it is: Adding physical accessories to the customized bottle.
- Process: This is about sourcing, not just printing. Stock different types of lids (straw lid, chug lid), silicone bumpers for the base, or even matching sublimated keychains.
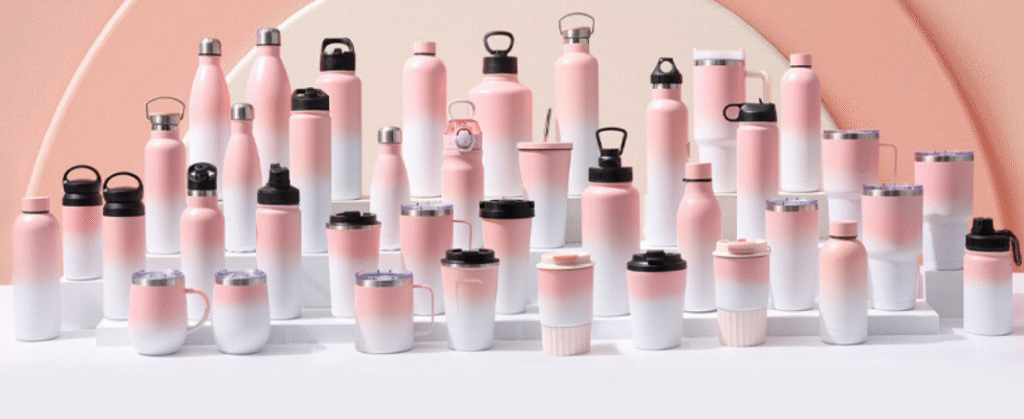
- Pricing: Sell these as add-ons at checkout or create premium bundles. A "Sports Package" could be a bottle with a straw lid and a carabiner clip.
- Best For: Increasing the average order value and offering a complete, gift-ready solution. Customers love having options that make the product uniquely theirs.
How to personalize water bottles without Cricut?
You want to create beautiful, personalized water bottles but don't want to invest in a vinyl cutter like a Cricut. You might think that limits you to expensive outsourcing or basic, unattractive options, leaving you unable to compete.
Sublimation is the superior method for personalizing water bottles without a Cricut. It uses a printer and heat press to create full-color, photorealistic, and permanent designs that won't peel, crack, or fade like vinyl decals. This is the professional-grade alternative.
Dive Deeper: Why Sublimation is the Professional's Choice
When I started, I also looked at vinyl. It seemed easy. But I quickly realized its limitations, especially for products that are washed frequently. The corners start to peel, the colors fade, and it just doesn't feel like a premium, permanent product. Sublimation was the answer. It's what allows you to create truly professional, durable goods that justify a higher price point. It's not a craft; it's a manufacturing process.
The Sublimation Advantage:
- Durability is Unmatched: A vinyl sticker sits on top of the surface. It's vulnerable to peeling, scratching, and the high heat of a dishwasher. A sublimated image becomes part of the bottle's coating. You can't feel it, it can't peel off, and it will last as long as the bottle itself. It is 100% dishwasher safe.
- Unlimited Colors and Detail: With vinyl, you are limited to the colors you have on hand, and you create designs by layering solid colors. With sublimation, you are essentially printing. You can reproduce any digital image, including full-color photographs, gradients, and intricate patterns, with millions of colors. This is something vinyl simply cannot do.
- Professional, Premium Feel: Run your hand over a vinyl-decorated bottle and you feel the sticker's edge. Run your hand over a sublimated bottle and it's perfectly smooth. This seamless finish signals a high-quality, professionally made product, not a DIY craft project. This allows you to sell your products in a more premium market.
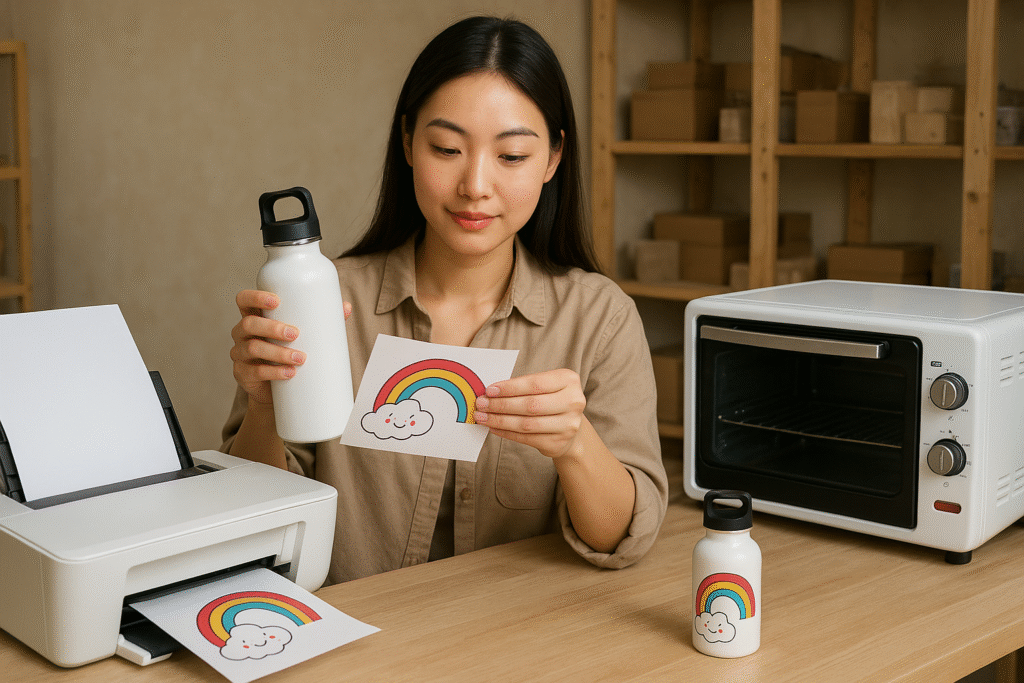
Your Simple Sublimation Setup (No Cricut Needed):
- A dedicated sublimation printer (like a converted Epson EcoTank).
- Sublimation ink and sublimation paper.
- A heat press (either a mug/tumbler press or a convection oven for drinkware).
- Sublimation-ready water bottle blanks.
This setup empowers you to create superior products that compete at a higher level than the vinyl craft market.
Conclusion
Custom logo water bottles are a powerful promotional tool. By mastering logo prep, finding a niche brand, and offering tiered customization, you can build a thriving business. Sublimation is the key, providing a durable, high-quality alternative that positions your products as premium assets, not disposable crafts.

Hi there! I'm Lucy, the guardian angel of two good children. During the day, I am a professional in the heat transfer printing industry, from factory workshops to running my own business. Here I share what I have learned - let's grow together!