How Can You Achieve a Perfect Sublimation Finish on Stainless Steel?
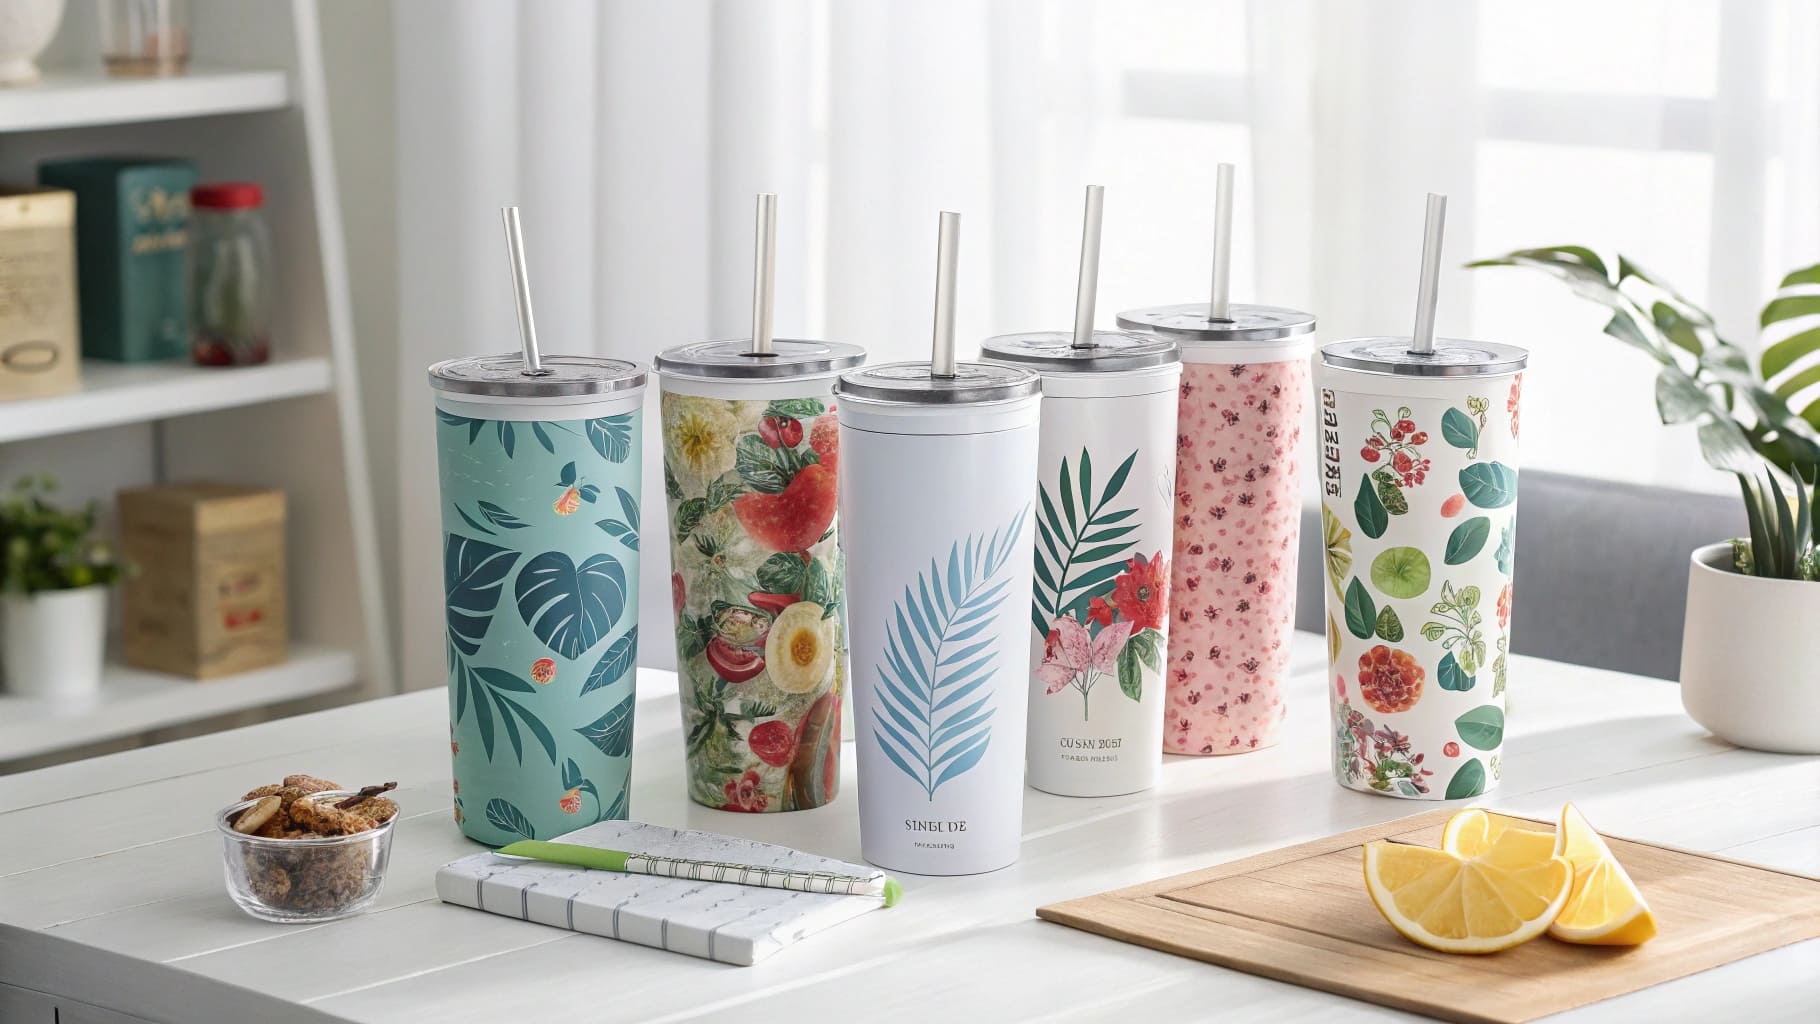
You've seen those flawless, vibrant custom stainless steel tumblers and you're ready to make your own. But you're intimidated by the material, worried about wasting expensive blanks on faded colors, blurry images, or uneven transfers.
This fear holds you back from mastering one of the most profitable and popular products in the custom gift market. Every failed press costs you money and confidence, making the whole process feel frustrating and out of reach.
The key to a perfect finish is using a high-quality, polymer-coated stainless steel blank, securing your mirrored design tightly with heat tape, and pressing it with firm pressure at the precise time and temperature recommended by your supplier.
My first attempt at a stainless steel tumbler was a disaster. I used the same settings I used for ceramic mugs. The result? A faint, blurry ghost of an image. I almost gave up, thinking my equipment was faulty. It wasn't until I truly understood that the metal needed a specific combination of time and heat that everything clicked. I spent an afternoon testing, tweaking my settings on a single "scrap" tumbler, section by section. That one afternoon of focused practice saved me hundreds of dollars in wasted blanks later on. Mastering metal isn't magic; it's a science, and once you learn the formula, you can repeat it perfectly every time.
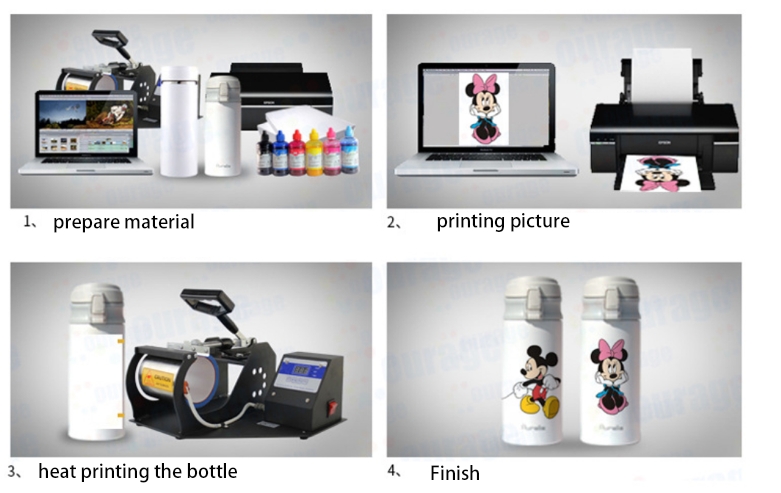
How to sublimate on stainless steel?
You have a design ready to go, but you're unsure of the exact step-by-step process for stainless steel. You're worried about missing a crucial step that could ruin the final product.
Without a clear, repeatable workflow, your results will be inconsistent. You'll get a great print one day and a faded mess the next, leaving you frustrated and unable to produce reliable, high-quality products for your customers.
To sublimate on stainless steel, print a mirrored design on sublimation paper. Clean the polymer-coated surface of the blank, wrap the design tightly, and secure it with heat-resistant tape. Then, use a heat press to apply heat and pressure, turning the ink into gas and infusing it into the coating.
Dive Deeper: The 5-Step Checklist for a Flawless Transfer
Getting a perfect transfer onto stainless steel is a process of precision. For a detail-oriented designer like Emma, this checklist will become second nature. I've pressed thousands of tumblers, and I follow these five steps religiously. Skipping even one of them is the fastest way to a failed print.
-
Step 1: The Prep Work
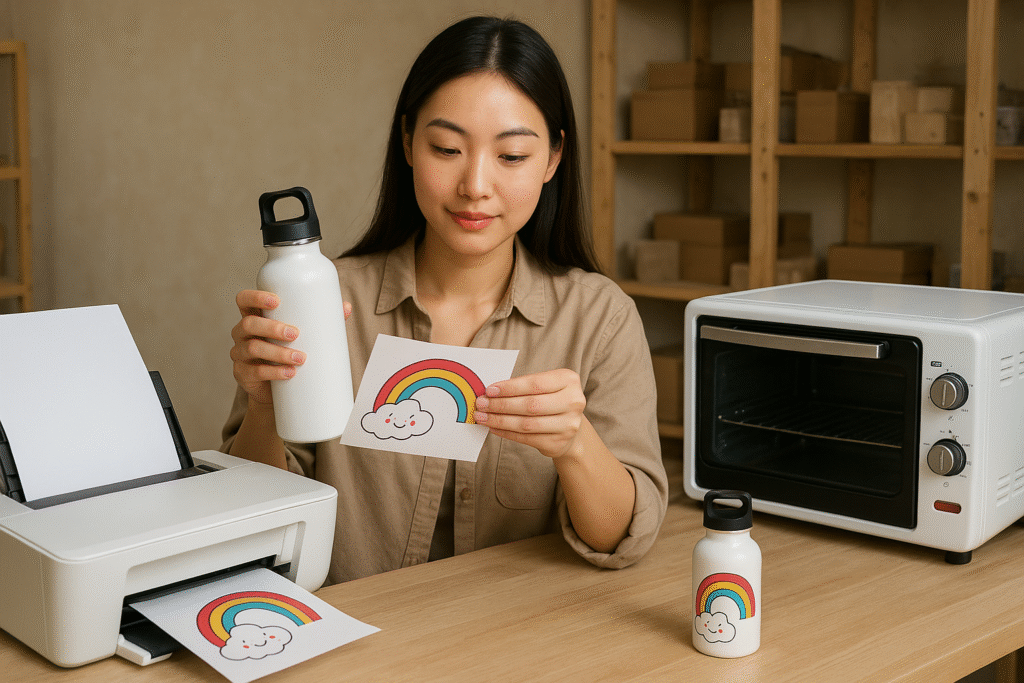
- Design & Print: Create your design to the exact dimensions of your tumbler. Make sure to print it as a mirrored image using high-quality sublimation paper and ink settings.
- Clean the Blank: This is critical. Use a lint-free cloth and a little isopropyl alcohol to wipe down the entire surface of the stainless steel blank. Any dust, lint, or fingerprint oil will block the ink transfer and leave a white spot.
-
Step 2: The Perfect Wrap
- Align and Trim: Carefully trim the excess paper from your design. Wrap it around the tumbler, ensuring it's straight and the seam meets perfectly. The tighter the wrap, the sharper the image.
- Tape, Tape, Tape: Use high-temperature heat tape to secure the seam down the entire length of the tumbler. Then, add tape around the top and bottom edges to prevent any gasses from escaping. There is no such thing as too much tape here.
-
Step 3: The Press
- Set Your Press: Follow the manufacturer's recommendations for your specific tumbler blank. A typical setting is around 360-400°F (182-204°C).
- Firm Pressure: Ensure your press is set to firm pressure. The tumbler should fit snugly inside the heating element.
-
Step 4: The Reveal
- Hot Peel: As soon as the timer goes off, wear heat-resistant gloves and carefully remove the tumbler. You must peel the sublimation paper off immediately while it's still extremely hot. If you let it cool, it can cause the image to ghost or blur.
-
Step 5: The Cool Down
- Let it Rest: Place the finished tumbler on a heat-resistant surface and let it air cool completely. The colors will fully set and pop as it cools down.
How long does it take to sublimate stainless steel?
You're trying to plan your production schedule but you're guessing how long each item takes. Incorrect timing in the press can lead to either under-baked, faded designs or over-baked, burnt-looking colors.
Without knowing the correct time, you're essentially gambling with every press. This uncertainty makes it impossible to schedule bulk orders or promise reliable delivery times to your customers.
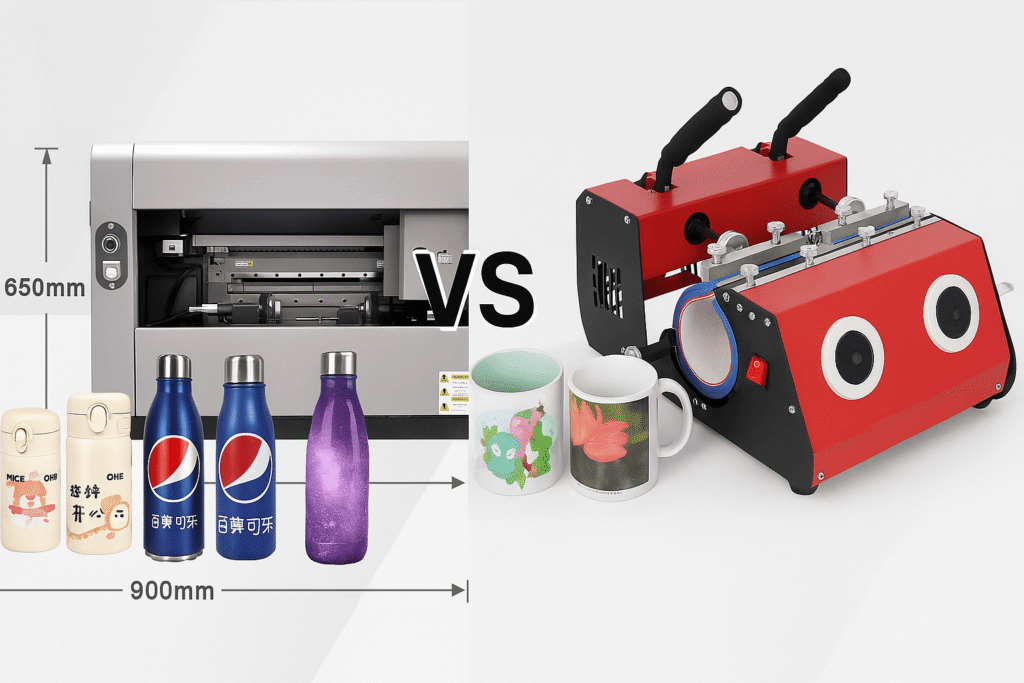
The time required to sublimate stainless steel varies by the press and the specific blank, but it's typically much shorter than for ceramics. A 20oz skinny tumbler in a convection oven takes 5-6 minutes, while the same tumbler in a dedicated tumbler press takes only 60-90 seconds.
Dive Deeper: Why Time Varies and How to Get It Right
I learned this lesson the hard way. I assumed more time equaled better colors. I left a tumbler in the oven for too long and the beautiful bright red in my design turned into a muddy, brownish mess. The ink had "over-cooked." For a designer like Emma, who is obsessed with color accuracy, understanding the time variable is crucial.
The time depends on two main factors: your heating method and the thickness of the blank.
| Heat Source | Typical Time (for 20oz Tumbler) | Pros & Cons |
|---|---|---|
| Tumbler Press | 60 - 90 seconds | Pros: Extremely fast and efficient for one-off production. Provides direct, even pressure. Cons: Can only do one tumbler at a time. |
| Convection Oven | 5 - 6 minutes (at 375°F) | Pros: Can sublimate multiple tumblers at once, perfect for bulk orders. Cons: Requires a "shrink wrap" sleeve to provide pressure, longer process. |
The Golden Rule: Always start with the manufacturer's recommendation. Your blank tumbler supplier has tested their products extensively. Their website or a sheet in the shipping box will give you a starting point for time, temp, and pressure.
My Pro Tip: Buy one extra tumbler to use for testing. Cut a single design into four strips. Press the first strip for the recommended time. Press the second for 10 seconds less. Press the third for 10 seconds more. Let them cool and compare. This small test will dial in your exact settings for your specific equipment and save you a fortune in the long run.
How do I get the most vibrant sublimation?
Your prints are coming out, but they lack the "wow" factor. The colors look dull and faded compared to the professional products you see online, leaving you feeling disappointed with your work.
If your products don't look vibrant and professional, you can't command a premium price. This directly impacts your profitability and your confidence as a creator, making you question your ability to succeed.
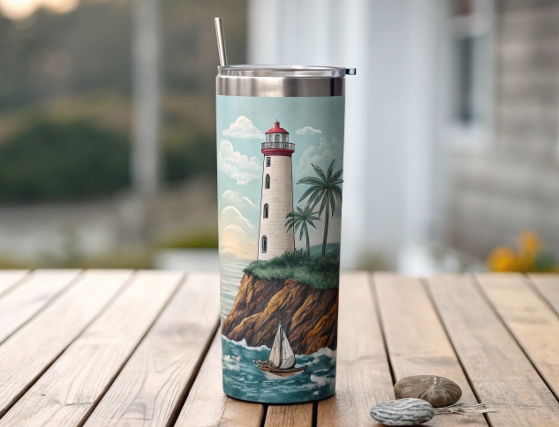
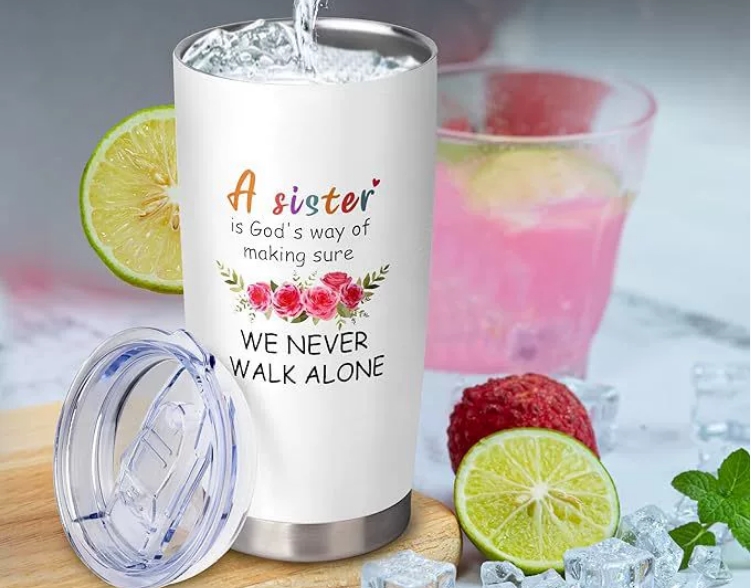
To achieve the most vibrant sublimation results, you must use a combination of high-quality materials: premium sublimation ink, high-release sublimation paper, and a top-grade, polymer-coated stainless steel blank. Finally, ensure your heat press settings for time, temperature, and pressure are perfectly calibrated.
Dive Deeper: The 3 Pillars of Vibrancy
I used to think that the printer was the most important part of getting vibrant colors. But after years of experience, I know it's a three-legged stool. If any one of these three "pillars" is weak, the whole print will suffer. For a designer like Emma, who lives and breathes color, mastering these pillars is non-negotiable.
Here are the three things you must get right for incredible color saturation:
-
Pillar 1: High-Quality Consumables
- Ink & Paper: This is not the place to save money. Cheap, off-brand inks and papers release less dye during the heating process, resulting in weaker colors. Invest in a reputable brand of ink (like Sawgrass, Cosmos, or Hiipoo) and a good paper (like A-SUB). This is the fuel for your color engine.
- The Blank Itself: The quality of the polymer coating on the stainless steel blank is paramount. A thick, perfectly applied coating absorbs more ink, leading to deeper, richer colors. Buying from trusted sublimation suppliers is the best way to ensure quality.
-
Pillar 2: The Right Software Settings
- Design in RGB: Design your files in an RGB color profile, as this is what a printer uses.
- Use an ICC Profile: An ICC profile is a small file that helps your computer translate the colors on your screen to the specific ink and paper you are using. Your ink supplier will provide this. Using it ensures that the red you see on your monitor is the red you get on your tumbler.
- High-Quality Print Settings: In your printer dialog box, always choose the highest quality print setting possible, often labeled as "High Quality" or "Photo Matte Paper."
-
Pillar 3: The Perfect Press
- Don't Guess: As mentioned before, use the recommended settings from your supplier as a starting point.
- Firm Pressure is KEY: Pressure is just as important as time and temperature. It ensures the sublimation paper makes perfect contact with the blank's surface, allowing the gas to transfer efficiently.
Get these three pillars right, and your prints won't just be good—they'll be spectacular.
What temperature do you sublimate on metal?
You're afraid to press the start button on your heat press. You're worried that setting the temperature too high will burn your design, while setting it too low will result in a faded, incomplete transfer.
This uncertainty about the correct temperature is a major source of stress. It can lead to analysis paralysis, preventing you from even trying, or costly mistakes that ruin your expensive stainless steel blanks.
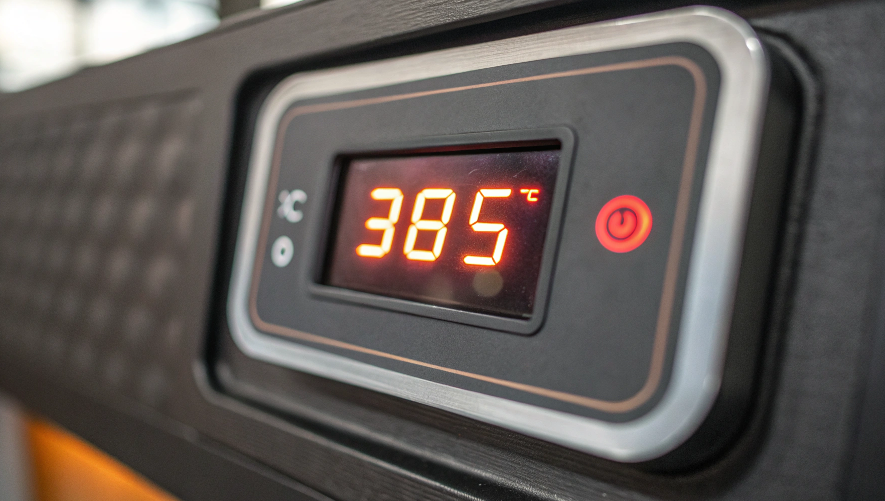
The ideal temperature for sublimating on stainless steel metal typically falls between 360°F and 400°F (182°C to 204°C). The exact temperature depends on your equipment (tumbler press vs. convection oven) and the specific recommendations from your blank supplier.
Dive Deeper: Temperature Is a Recipe, Not a Rule
Think of temperature like an oven setting when you're baking. A recipe might say 350°F, but you know your oven runs a little hot, so you set it to 340°F. The same logic applies to your heat press. The supplier's recommendation is your starting recipe, but you may need to adjust it slightly for your specific "kitchen." For a meticulous creator like Emma, testing and logging results is the path to predictable perfection.
Here's how to think about temperature and why it matters so much:
| Temperature Range | Potential Outcome | Why it Happens |
|---|---|---|
| Too Low (e.g., <350°F) | Faded, blotchy, or incomplete transfer. The image will look weak and washed out. | The ink did not get hot enough to fully convert from a solid to a gas (the "sublimate" part of sublimation). A full transfer never occurred. |
| Just Right (e.g., 360-400°F) | Crisp, vibrant, and fully saturated colors. Sharp lines and perfect detail. | This is the "sweet spot" where the ink fully sublimates and is absorbed perfectly by the polymer coating on the metal. |
| Too High (e.g., >400°F) | Colors may darken, shift, or look "burnt." The image can appear blurry around the edges. | The ink gets too hot and begins to spread or "bleed" outside of its intended area. Certain colors, especially reds, can start to turn brown. |
Your Action Plan:
- Find the Recipe: Look up the temperature recommended by the company you bought your stainless steel blanks from.
- Set Your Press: Calibrate your heat press to that exact temperature. Allow it to fully preheat.
- Run a Test: If you're new to a particular brand of blanks, sacrifice one for testing. As I mentioned before, press small test strips at the recommended temperature, a little below, and a little above.
- Log Your Results: When you find the perfect temperature for your machine and a specific product, write it down! Keep a small notebook next to your press. Note the blank, the temp, and the time. This logbook will become your most valuable tool.
Conclusion
Mastering sublimation on stainless steel opens up a world of profitable, in-demand products. By focusing on a precise workflow, high-quality materials, and perfected settings, you can create flawless, vibrant drinkware that your customers will absolutely love.

Hi there! I'm Lucy, the guardian angel of two good children. During the day, I am a professional in the heat transfer printing industry, from factory workshops to running my own business. Here I share what I have learned - let's grow together!