How Can You Create Custom Christmas Ornaments With Sublimation?
The lucrative holiday season is fast approaching, but your online shop feels unprepared. You're watching other sellers showcase amazing personalized Christmas items, leaving you feeling left behind and stressed about missing the biggest sales opportunity of the year.
This pressure to perform can feel paralyzing, causing you to miss out on significant profits. Custom sublimation ornaments are the perfect, low-cost, high-margin product to capture the holiday rush and delight your customers, even if you're a complete beginner.
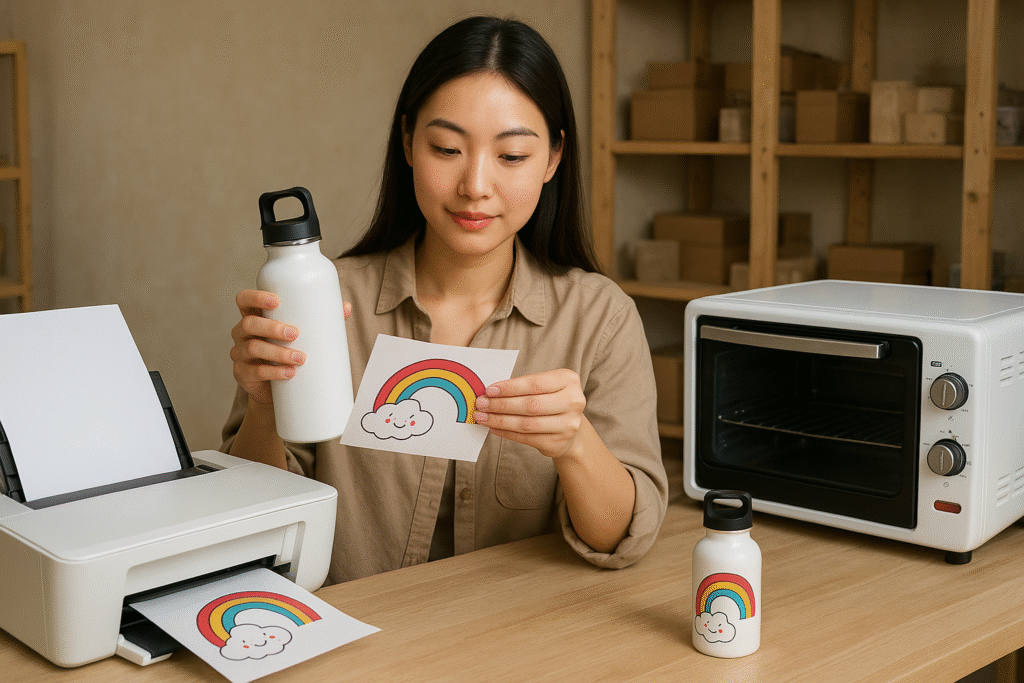
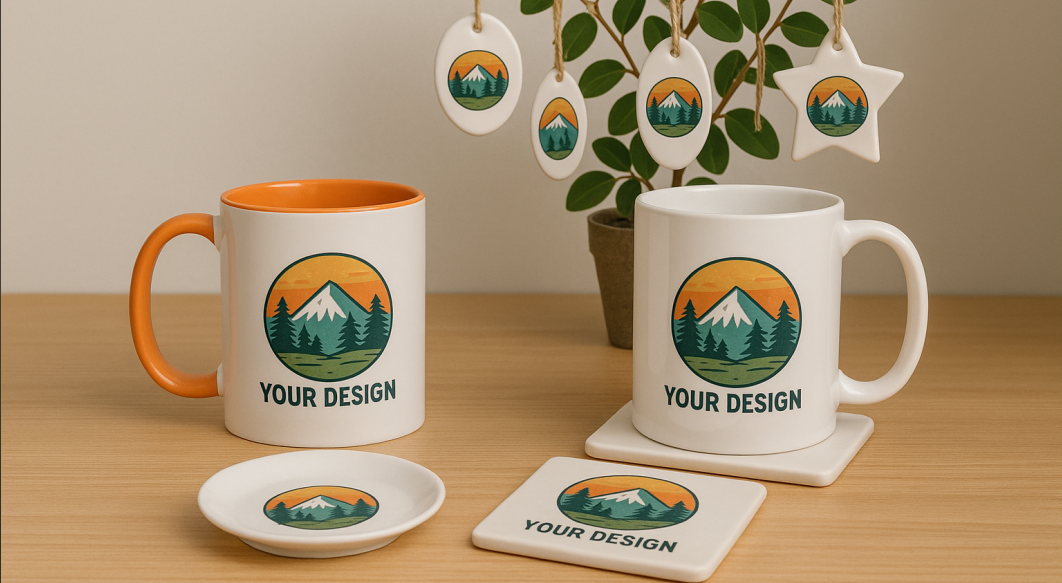
To create custom ornaments, you print a mirrored design onto sublimation paper using a sublimation printer. Then, you securely tape the paper to a sublimation-coated ornament blank and use a heat press to transfer the design permanently onto the ornament, creating a vibrant, personalized keepsake.
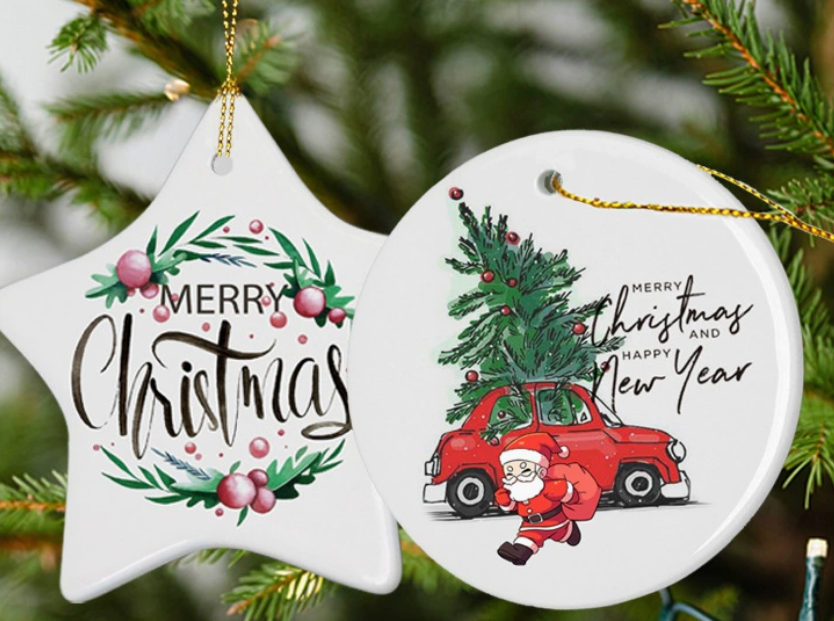
I remember my very first holiday market. I was so nervous. I had a small table and just a handful of products I'd made. My bestsellers, by a huge margin, were the simple ceramic ornaments I had sublimated. One design said "Baby's First Christmas 2024" with a space for a photo, and another was "Our First Home." I sold out in three hours. People weren't buying a piece of ceramic; they were buying a memory, a milestone. It taught me that during the holidays, the most powerful products are the most personal ones. You already have the tools to create these little pieces of magic.
What sublimation items sell best?
You have a limited budget for new inventory and you're terrified of making the wrong choice. You see endless options for sublimation blanks, but the fear of buying something that won't sell is holding you back from investing.
This paralysis means your equipment sits unused and your potential profits vanish. The key is to stop guessing and focus your money on the products that are proven, year-round bestsellers, with a special focus on the holiday season.
The top-selling sublimation items fall into three main categories: drinkware (mugs and tumblers), apparel (t-shirts and hoodies), and seasonal home decor. Christmas ornaments are the star player in the seasonal decor category, representing a massive and reliable sales driver.

Dive Deeper: Focusing Your Investment for Maximum Return
When I was starting out, every dollar mattered. I couldn't afford a warehouse full of unsold blanks. I learned to focus on what I call the "Sure Thing" categories. For a designer like Emma, knowing where to apply her creative skills is just as important as the designs themselves. You need to fish where the fish are biting.
There are evergreen products, and then there's the holiday gold rush. Ornaments are your ticket to that gold rush.
| Category | Why It Sells Well | The Holiday Angle |
|---|---|---|
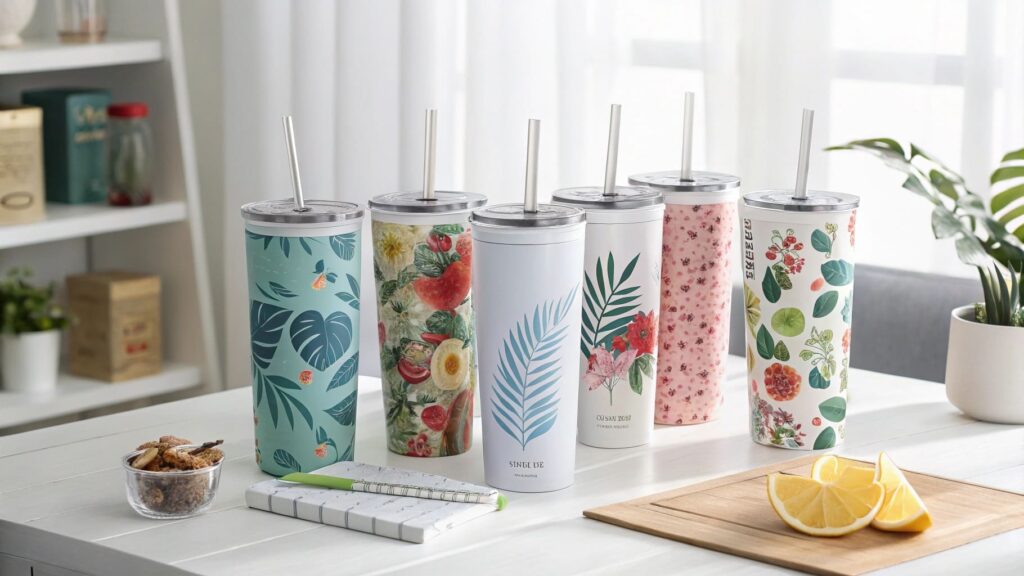
| Drinkware | Everyone uses mugs & tumblers daily. They offer a practical canvas for personalization with huge profit margins. | Easy to theme for the holidays. "Santa's Favorite Ho Ho Ho" mugs, winter wonderland tumblers, and hot cocoa gift sets sell incredibly well. |
| Apparel | T-shirts and hoodies allow for bold self-expression. They are perfect for group events, brands, and funny quotes. | Think "Ugly Christmas Sweater" designs (sublimated on sweatshirts), matching family holiday shirts, and festive apparel for parties. |
| Seasonal Decor | These items tap directly into the emotional spending of the holidays. They are collectible and highly sentimental. | This is the sweet spot. Ornaments are the #1 product in this category. They are low-cost to produce, easy to ship, and have massive emotional value. |
My advice for any beginner is simple: start your holiday inventory with ornaments. They require a small investment, the process is straightforward, and the demand is guaranteed every single year. A single successful ornament design can easily fund your entire business's growth into other product categories.
How to sublimate a picture on an ornament?
You have the perfect family photo or a client's beloved pet picture, but you're terrified of ruining it. You worry about getting the colors wrong, creating a blurry image, or just wasting an expensive ornament blank.
This fear keeps you from offering one of the most profitable and beloved custom products. Getting a photo-perfect transfer is a straightforward process, but it requires precision and following a few critical steps to ensure a flawless result every time.
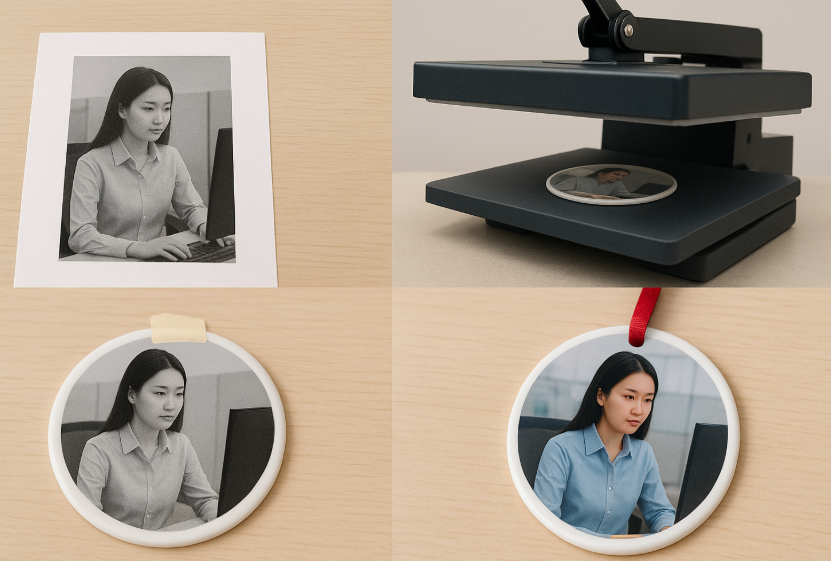
To sublimate a picture on an ornament, print a high-resolution, mirrored image onto sublimation paper. Securely tape it to a sublimation-coated ornament blank, then press it with a heat press at the time and temperature recommended by your supplier (usually around 400°F for 60 seconds).
Dive Deeper: Your Step-by-Step Guide to a Perfect Press
I've pressed thousands of photo ornaments, and I've made all the mistakes so you don't have to. A blurry image or faded colors are almost always due to one of three things: low-quality source photo, incorrect settings, or movement during the press. For a detail-oriented designer like Emma, this process is about precision, not guesswork.
Follow this checklist for a perfect press every time:
-
Step 1: Preparation is Everything
- High-Resolution Photo: This is non-negotiable. If your source image is blurry or pixelated, your final product will be too. Always ask clients for the original, highest quality photo they have.
- Choose the Right Blank: Use a high-quality ornament blank specifically made for sublimation. The quality of the polymer coating makes a huge difference in the final color vibrancy. Common materials are ceramic, metal (aluminum), and MDF wood.
- Print Settings: When you print, make sure you mirror your image. Use a high-quality print setting and select the correct paper profile in your print driver.
-
Step 2: The Secure Setup
- Tape Securely: Cut your design out and place it face-down onto the ornament. Use high-temperature heat tape to secure it on at least two or three sides. Any shifting during the press will cause "ghosting," a blurry shadow effect. Do not let the tape cover any part of the image itself.
-
Step 3: The Press
- Follow Supplier Specs: Every blank is different. Your ornament supplier will provide the exact recommended time, temperature, and pressure. Write it down! A typical setting for a ceramic ornament is 400°F (204°C) for 60-90 seconds. Always pre-press your heat mat to remove any moisture.
- Create a "Sublimation Sandwich": Place a sheet of butcher paper on the bottom of your press, then your ornament (with the paper side up), and then another sheet of butcher paper on top. This protects your press from any ink blowout.
When the timer goes off, open the press and immediately peel the transfer paper off. Be careful—it will be incredibly hot! The reward is a stunning, permanent, photo-quality image that will become a family treasure.
What are some unique ornament ideas?
You've mastered the basic photo ornament, but now you see hundreds of other sellers doing the exact same thing. You're worried your products will just blend in with the crowd, with no unique hook to attract buyers.
If you only offer the basics, you'll be forced to compete on price alone. To build a memorable brand and command higher prices, you need to offer unique, creative ornament concepts that go beyond a simple photo in a circle.
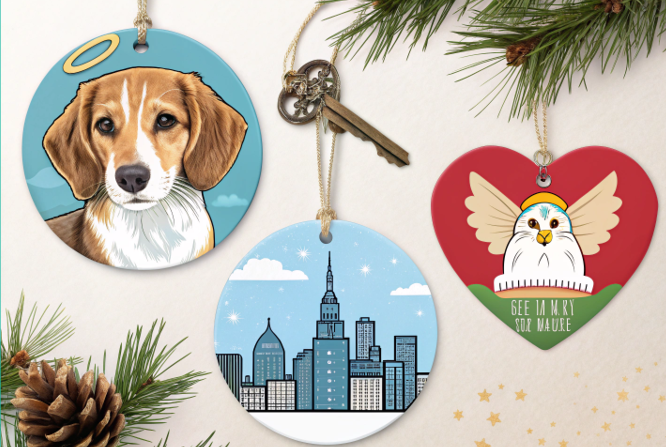
Unique ornament ideas combine personalization with specific life events and trends. Think "Our First Home" ornaments featuring a picture of the house, "Pet Memorial" ornaments with a photo and dates, or map ornaments showing a special location.
Dive Deeper: Selling a Story, Not Just an Ornament
My business truly took off when I stopped selling "custom ornaments" and started selling "milestone markers." People aren't just decorating a tree; they're telling the story of their year. Your job is to give them the beautiful visuals to tell that story. As a designer, Emma can take these concepts and create stunning, marketable templates.
Here are some top-tier ideas that sell for a premium every single year:
-
The Milestones Collection: These are the bread and butter of the ornament business.
- Our First Home: Use a picture of the new house. You can even find key-shaped ornament blanks to make it extra special. Add the address and the year.
- Baby's First Christmas: This is a must-have for any new parent. Use a photo of the baby and include their name, date of birth, weight, and length.
- Just Married / Our First Christmas as Mr. & Mrs.: Use a wedding photo and the couple's new shared last name and the wedding date.
-
The Sentimental & Niche Collection: This is where you build deep customer loyalty.
- Pet Memorial: A photo of a beloved pet who has passed, with their name and dates (e.g., "Sparky 2010-2024"). You can add a subtle halo to the photo for an extra touching detail. These are incredibly meaningful.
- Map & Location Ornaments: Use a map design to place a heart over a special location: "Where We Met," "Where We Got Engaged," or a home state for someone who has moved away.
- Handwriting Ornaments: This one is pure magic. Have a customer send a photo of a short, handwritten note from a loved one (especially someone who has passed). Clean up the image in your design software to isolate the text, then sublimate it onto the ornament. It's an unforgettable tear-jerker.
How to make simple decorations for Christmas?
You love the festive spirit, but you're working on a tight budget. You want to create a beautiful holiday atmosphere for your home or craft fair booth, but store-bought decorations are expensive and impersonal.
Spending a fortune on generic decorations feels wasteful. Sublimation offers you a powerful tool to create your own professional-looking, custom Christmas decor for a fraction of the cost of retail.
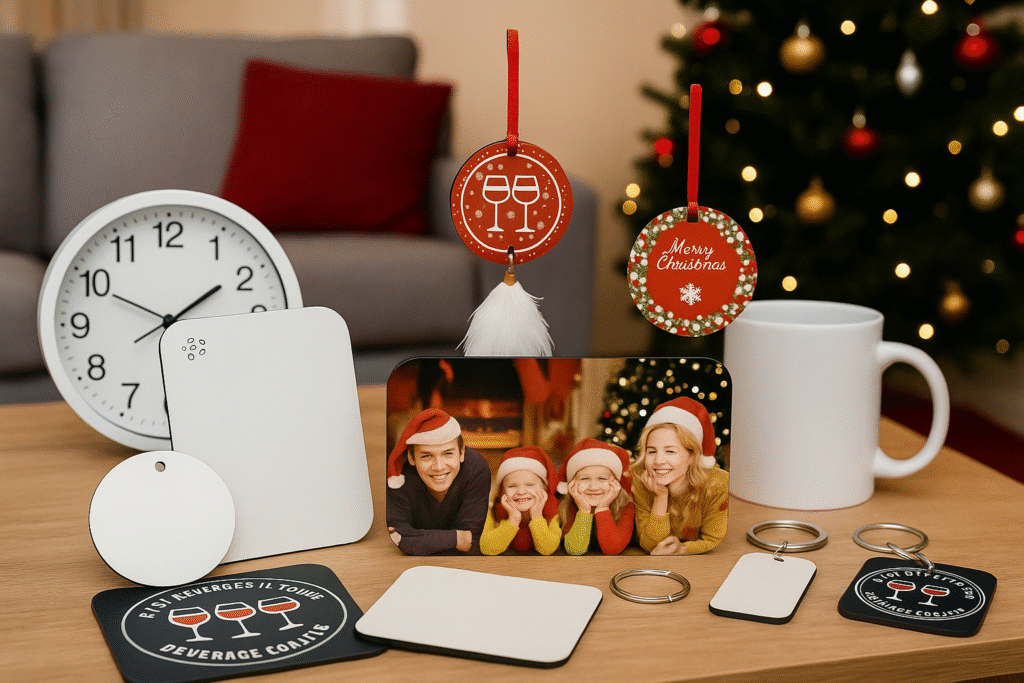
You can make simple Christmas decorations by sublimating festive patterns, family photos, or holiday quotes onto a wide range of affordable blanks. Use ornament blanks, MDF wood shapes, or even polyester fabric to create unique, personalized decor.
Dive Deeper: Turning Blanks into Holiday Treasure
My home is my showroom. Everything is a prototype! I stopped buying most of my Christmas decorations years ago. Why would I, when I can make something that's more personal and meaningful myself? This is also a fantastic way for a designer like Emma to test new ideas and build a portfolio of product photos without spending a lot of money.
You can decorate your entire home with your sublimation printer and heat press. Think beyond just the tree ornaments:
-
DIY Custom Stocking Tags: Instead of buying generic wooden tags, get some simple round or rectangular MDF ornament blanks. Sublimate each family member's photo and name onto one. It's a gorgeous, upscale touch that instantly personalizes your mantelpiece.
-
Create a Fabric Banner: Buy a yard of inexpensive 100% white polyester fabric. Cut it into a long banner shape. On your computer, lay out a festive phrase like "Merry Christmas" or "Let it Snow" and print it across several sheets of sublimation paper. Press these sections onto your banner to create a huge, impactful piece of wall art for pennies.
-
Personalized Photo Coasters: Sublimation-ready coasters (MDF or ceramic) are cheap and easy to press. Create a set of four with favorite family photos from the past year. They are both functional and a beautiful, festive display for your coffee table during holiday get-togethers.
-
Make Your Own Gift Tags: Don't buy paper gift tags. Use small, single-sided aluminum business card blanks or small MDF shapes. Sublimate a "To/From" design on them along with a festive pattern. They double as a tiny keepsake ornament for the recipient after the gift is opened.
These simple projects use the same skills as making ornaments but expand your creative and sales potential exponentially.
Conclusion
Creating custom Christmas ornaments is the perfect starting point for any sublimation business. They are profitable, in-demand, and offer a powerful way to connect with your customers during the most emotional time of the year. Start creating today.

Hi there! I'm Lucy, the guardian angel of two good children. During the day, I am a professional in the heat transfer printing industry, from factory workshops to running my own business. Here I share what I have learned - let's grow together!