How Do You Achieve a Perfect Sublimation Finish on Stainless Steel?

You want to sublimate on stainless steel tumblers, but your results are faded, blurry, or inconsistent. It's frustrating to waste expensive blanks and supplies.
Poor results lead to wasted time, money, and a finished product you can't sell. This can quickly kill your motivation and profitability.
To get a perfect finish, you must use the right tools: a sublimation-coated blank, high-quality sublimation ink and paper, and consistent heat and pressure from a press or oven. There are no shortcuts.
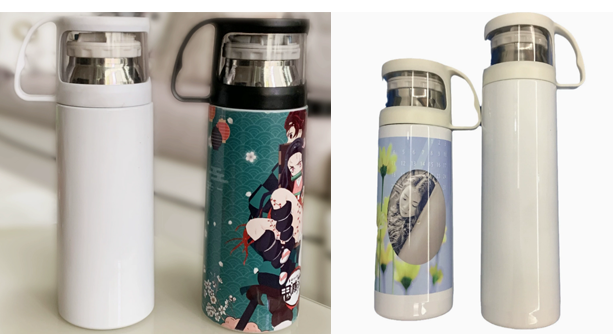
In today's fast-paced world, everyone wants something unique. This desire for personalization is why I got into this business in the first place. Sublimation on stainless steel is the perfect way to meet this demand, creating durable, beautiful products people love. I remember the steep learning curve when I started—the faded prints, the ghosting. I quickly learned that success in sublimation isn't about luck; it's about a precise, repeatable process. Once you master the fundamentals, you can create stunning, professional-quality products every single time. This guide will walk you through that exact process.
How do you sublimate on stainless steel?
You've seen amazing full-wrap tumbler designs and want to make them yourself. But you don't know the exact steps to get from a digital design to a finished product.
Without a clear process, you're likely to make common mistakes. These include bad print quality, "ghosting" or blurry images, and designs that don't line up correctly.
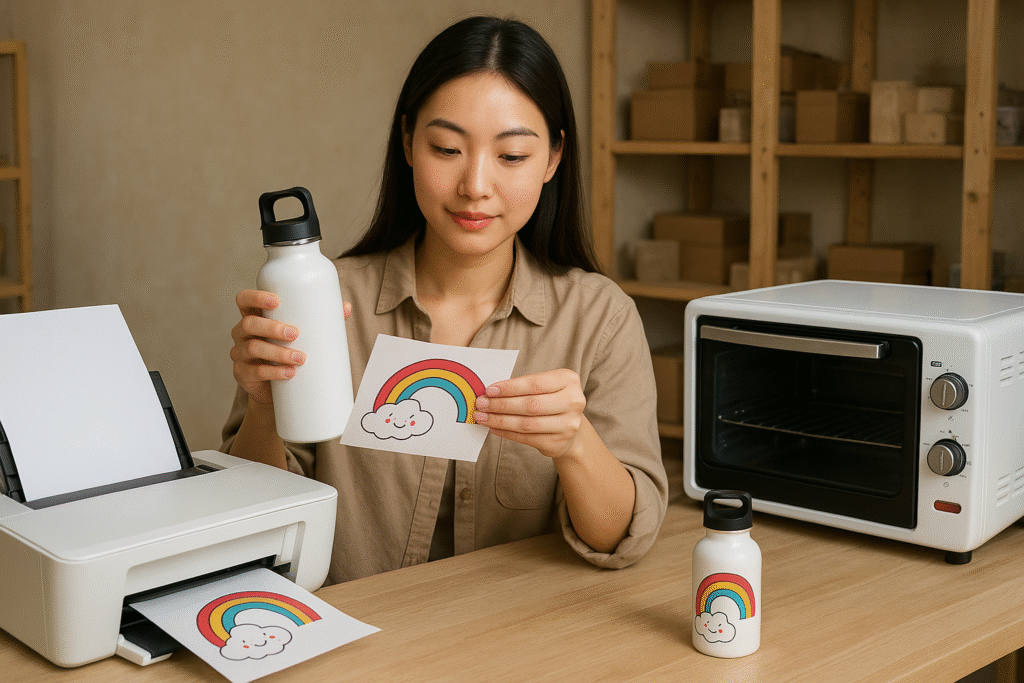
Sublimating on stainless steel involves three main stages: printing your design with sublimation ink, securely taping it to a polymer-coated steel blank, and applying even heat using a tumbler press or convection oven.
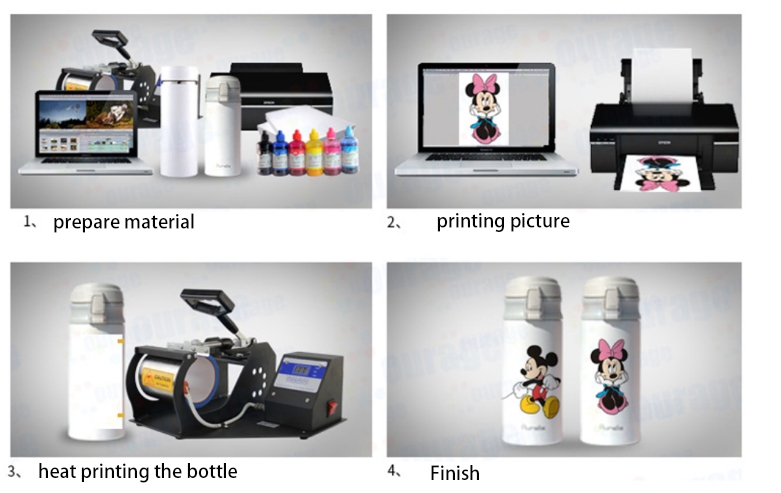
Dive Deeper: The Step-by-Step Professional Workflow
This is the core process I've refined over thousands of successful prints. Following these steps precisely is how you get consistent, professional results. For a designer like Emma, who values precision, thinking of this as a technical recipe is key. Every ingredient and every step matters.
Here is the exact workflow you should follow:
-
Preparation is Key:
- The Blank: You MUST use a stainless steel item with a special polymer sublimation coating. Sublimation ink does not bond with raw steel. Clean the surface with a lint-free cloth to remove any dust or fingerprints.
- The Design: Print your design using a dedicated sublimation printer with high-quality sublimation ink and paper. The printed colors will look dull—this is normal. The vibrancy comes alive with heat.
-
The Perfect Wrap:
- Taping: Wrap the printed design tightly around the tumbler, ensuring it's straight and there are no air gaps. Use heat-resistant tape to secure the seam and the top and bottom edges. The tighter the wrap, the sharper the final image. A loose wrap is the number one cause of blurry images.
-
The Heat Application (Press or Oven):
- Tumbler Press: Place the tumbler in a preheated press. Apply firm pressure and press for the recommended time and temperature (this varies by press and blank). Rotate the tumbler 180 degrees and press again to ensure the seam is fully sublimated.
- Convection Oven: If using an oven, you must use a shrink-wrap sleeve. Place the sleeve over the taped tumbler and use a heat gun to shrink it tight. This applies the necessary pressure. Bake in the oven according to your blank manufacturer's instructions.
-
The Reveal:
- Once the time is up, wear heat-resistant gloves to remove the tumbler. The item will be extremely hot. Carefully peel off the paper immediately to reveal your vibrant, permanent design.
How do you get a satin finish on stainless steel?
You love the look of a matte or satin finish, but most sublimation blanks are glossy. You're looking for a way to offer this trendy, high-end finish to your clients.
Being limited to just glossy finishes means you can't cater to a growing market segment that prefers a more subtle, modern aesthetic. This can make your products seem less unique.
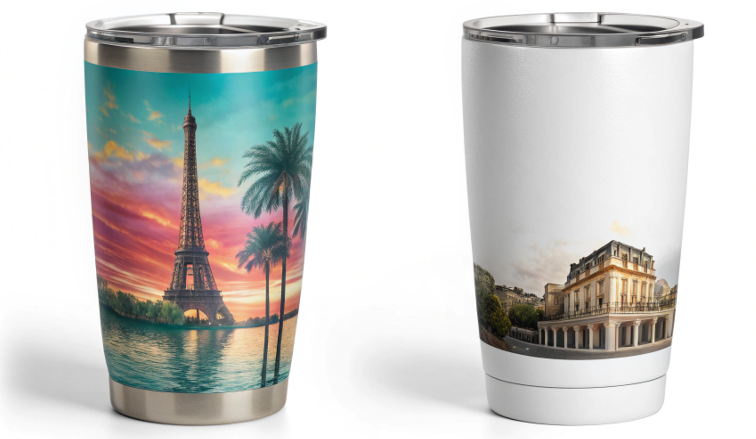
To get a satin finish, you must purchase a sublimation blank that is specifically manufactured with a matte or satin polymer coating. The finish is part of the blank itself, not something you create during the printing process.
Dive Deeper: Sourcing for Different Finishes
I was so excited when matte sublimation tumblers first hit the market. It finally allowed me to offer a different feel, one that many of my corporate clients were asking for. It has a sophisticated, almost soft-touch feel that screams "premium." For a designer like Emma, having different finishes in your arsenal allows you to match the product's texture to the brand's aesthetic.
Here’s what you need to know about tumbler finishes:
-
The Finish is in the Coating: The polymer coating required for sublimation is applied at the factory. This coating can be formulated to cure with different levels of sheen. You cannot change a glossy tumbler into a matte one.
-
Where to Find Them: Your blank supplier is the key. When browsing for tumblers or other stainless steel items, look for terms like:
- "Matte Sublimation Tumbler"
- "Satin Finish Blank"
- "Frosted" (often used for glass, but sometimes for steel)
-
Sublimation Properties: The sublimation process is identical for both glossy and matte finishes. You use the same ink, paper, and heat settings. The only difference is the final look and feel of the product.
| Finish | Look & Feel | Best For | Pro Tip for Emma |
|---|---|---|---|
| Glossy | Shiny, vibrant, high-contrast. | Bright, eye-catching photographic designs. Designs that need to "pop." | Colors will appear slightly more saturated on a glossy surface due to light reflection. |
| Satin/Matte | Smooth, non-reflective, modern, subtle. | Elegant, minimalist logos. Sophisticated branding. Designs with a vintage or rustic feel. | Matte surfaces can be more forgiving for designs with large areas of solid color, hiding minor imperfections. |
Offering both glossy and matte options is a simple way to expand your product line and appeal to a wider range of customer preferences.
How long does it take to sublimate a stainless steel tumbler?
You need to plan your production schedule, especially for a large order. You're not sure how much time to budget for each individual item.
Without an accurate time estimate, you risk over-promising on deadlines or underestimating the labor involved. This can lead to stressed-out nights trying to finish an order.
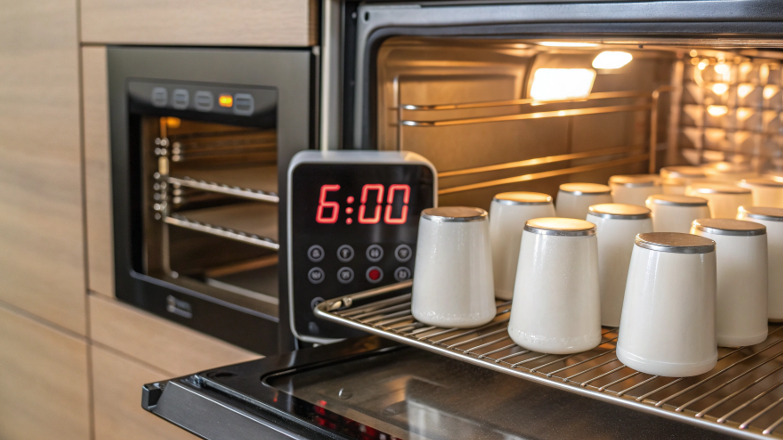
The actual heating process for a single stainless steel tumbler takes about 1-7 minutes, depending on whether you use a press or an oven. The total time per tumbler, including prep and wrapping, is closer to 10-15 minutes.
Dive Deeper: Breaking Down the Timeline
Time management is everything when you're running a production business. I learned to batch my tasks to be more efficient. Don't think of it as "15 minutes per tumbler." Think of it as "I can prep 20 tumblers in an hour, then bake them all at once." This mindset is crucial for scaling your operation, which is a key challenge for a growing designer like Emma.
Let's break down the time for a single tumbler versus a batch:
Time for ONE Tumbler:
- Print & Trim Design: 2 minutes
- Clean & Tape Blank: 3 minutes
- Heat Application:
- Tumbler Press: ~2 minutes (e.g., 60 seconds, rotate, 60 seconds)
- Convection Oven: ~6 minutes
- Cooling & Unwrap: 1 minute
- Total Time (Press): ~8 minutes
- Total Time (Oven): ~12 minutes
Efficient Batching (Example: 10 Tumblers in an Oven):
- Print & Trim All Designs: 10 minutes
- Clean & Tape All Blanks: 20 minutes
- Apply Shrink Wrap to All: 10 minutes
- Bake All in Oven: 6 minutes (The oven time doesn't change much with more items)
- Cool & Unwrap All: 5 minutes
- Total Time: ~51 minutes
- Average Time Per Tumbler: ~5 minutes
As you can see, batching your work dramatically reduces the average time per item. A convection oven is far more efficient for producing more than 2-3 tumblers at a time. A press is great for quick, one-off jobs.
How do you get the most vibrant sublimation prints?
Your prints are coming out okay, but they lack the "wow" factor. The colors look faded or less saturated than you see in professional examples.
Dull colors make your products look amateurish and unappealing. You're missing out on the biggest advantage of sublimation: stunning, photo-quality vibrancy.
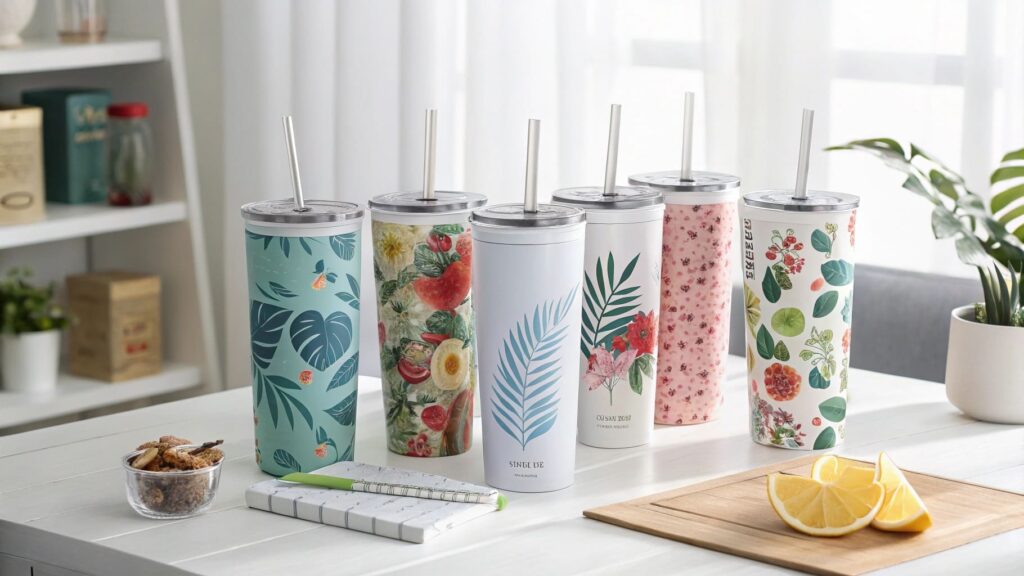
To get the most vibrant colors, you must use a high-quality ICC profile for your specific ink and printer, print on the highest quality setting, and ensure your heat press is at the correct temperature.
Dive Deeper: The Color Vibrancy Checklist
Chasing perfect color was an obsession for me when I started. It's the difference between a good product and a great one. This is where a designer's eye, like Emma's, really comes into play, but it must be paired with technical precision. Vibrant color is not an accident; it's a science.
Here is my checklist for achieving maximum vibrancy:
-
Use the Correct ICC Profile:
- What it is: An ICC profile is a small file that tells your printer how to translate the colors on your screen into the correct ink mixture for your specific sublimation ink set.
- Why it's critical: Without the right profile, your printer is just guessing, which almost always results in inaccurate and dull colors. Your ink supplier MUST provide this file for you.
-
Use High-Quality Materials:
- Ink & Paper: Don't cheap out. Reputable ink brands and high-release sublimation papers make a massive difference in how much ink is transferred to the blank.
- Blanks: A thick, bright white polymer coating on your stainless steel blank will produce more vibrant results than a thin or off-white coating.
-
Perfect Your Heat and Pressure:
- Temperature: Too low, and the ink won't turn to gas properly (dull colors). Too high, and the colors can "blow out" or shift (e.g., blacks turning brown). You must find the sweet spot for your equipment.
- Pressure: A firm, even pressure is essential for the ink to transfer fully from the paper to the blank. This is why tight taping and shrink wrap are so important.
By systematically addressing these three areas—your software (ICC profile), your materials, and your technique—you can move from producing decent prints to creating stunning, professionally vibrant products.
Conclusion
Achieving a perfect sublimation finish on stainless steel is a precise craft. By using quality materials, mastering your wrapping technique, and dialing in your time and temperature, you'll create vibrant, durable products.

Hi there! I'm Lucy, the guardian angel of two good children. During the day, I am a professional in the heat transfer printing industry, from factory workshops to running my own business. Here I share what I have learned - let's grow together!