How Do You Achieve Vibrant, Permanent Dye Sublimation Results?
Your prints look dull and faded. The colors aren't popping, and the quality feels unprofessional, making you doubt if you can ever compete with top sellers.
This inconsistency wastes expensive ink, paper, and blanks. It kills your profit margins and damages your brand's reputation with every disappointing product you have to throw away.
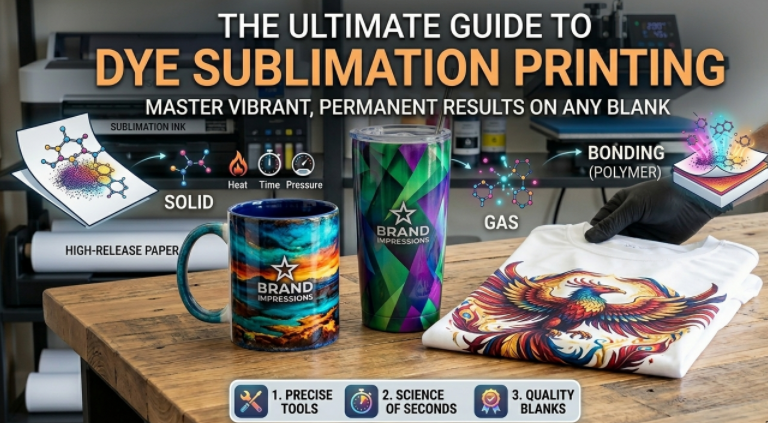
To achieve vibrant, permanent results, you must use a dedicated sublimation printer with specialized inks and high-release paper. You also need to master the precise time, temperature, and pressure settings for each type of polymer-coated blank.
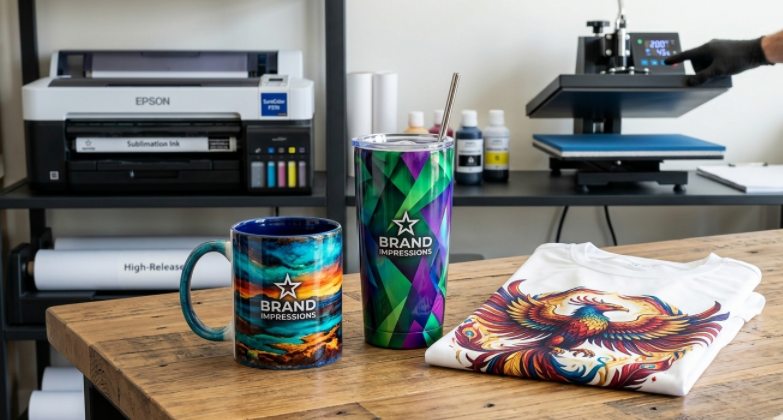
After years on the factory floor, I’ve realized one thing: in the world of dye sublimation, there are no shortcuts to brilliance. Clients often ask me, "Lucy, how do we get that professional, vibrant pop in the final product?" My answer is always the same: It’s a marriage between the right tools and a deep respect for the process. You need the right gear and you need to understand the science. Let's break down exactly what this means so you can get perfect prints every time.
How Does Dye Sublimation Actually Work?
You know you need a printer and a heat press, but the actual science behind how the image permanently bonds to the mug or shirt seems like magic.
Without understanding the process, you're just following instructions blindly. You can't troubleshoot problems effectively or explain to your customers why your products are so durable.
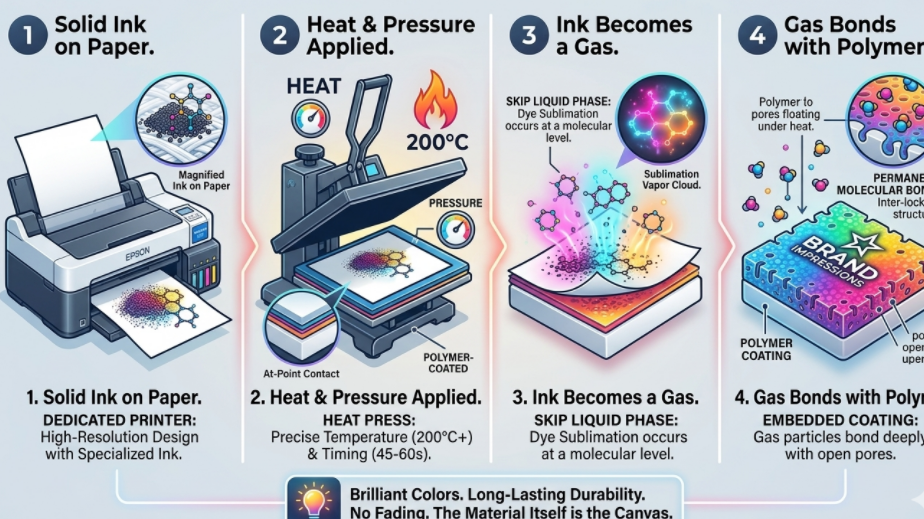
Dye sublimation is a chemical process where solid ink turns into a gas under heat, skipping the liquid phase. This gas then embeds itself into the open pores of a polymer, becoming a permanent part of the material itself.
Dive Deeper: From Solid Ink to a Permanent Bond
For me, understanding this process was a game-changer. It's not magic; it’s science, and it explains why certain things are non-negotiable. You cannot expect premium results from makeshift setups. To achieve that deep, lasting vibrancy, you need a dedicated sublimation printer, specialized inks, and high-release transfer paper. This hardware is the foundation of your brand's reputation. The process happens in a few key stages.
1. The Printing Stage
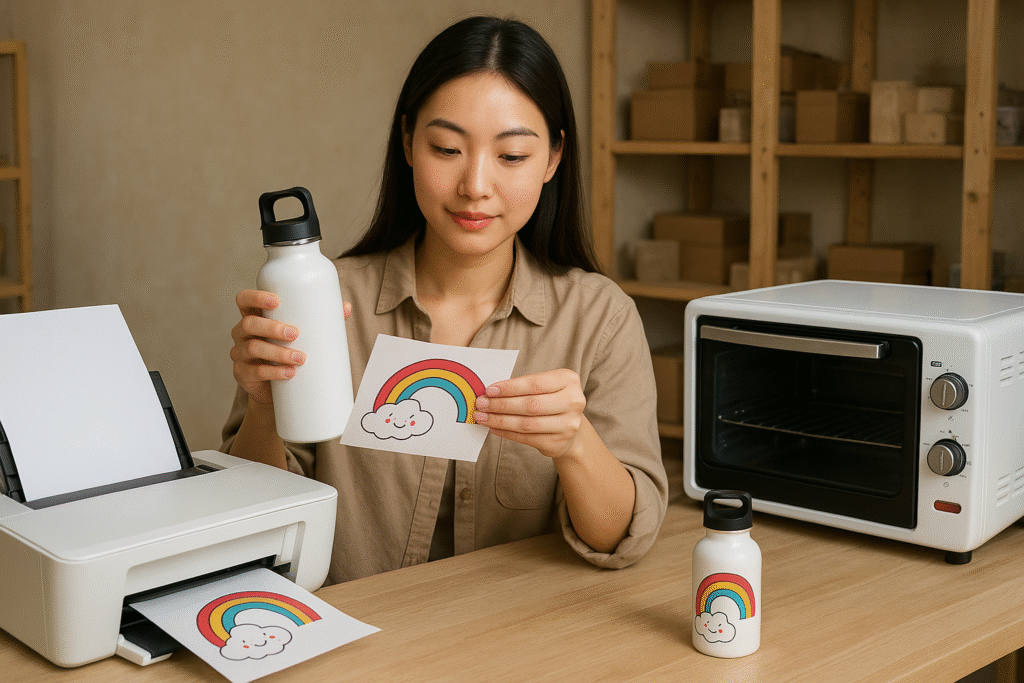
First, you print your design onto special transfer paper. The ink you see on the paper looks dull. That's normal! The vibrant colors are only activated by heat. This is why using high-release paper is so important; it's designed to let go of as much ink as possible when heated.
2. The Transfer Stage
Next, you secure the printed paper onto your sublimation blank. This could be a mug, a tumbler, or a polyester shirt. Then, you apply heat and pressure. The heat turns the solid ink on the paper directly into a gas. At the same time, the high temperature opens up the pores of the polymer coating on your blank.
3. The Bonding Stage
The ink gas moves from the paper and into the open pores of the blank. Once you remove the heat, the pores close, trapping the ink permanently inside the material. The design is now a part of the blank—you can't feel it, and it won't peel or wash off.
What Materials Do You Need for a Perfect Sublimation Transfer?
You tried to sublimate a cool cotton shirt or a regular mug from the dollar store. The result was a faint, blurry mess that washed away almost instantly.
Wasting time and materials on the wrong blanks is so frustrating. It makes you feel like sublimation is more limited than you thought, and it costs you money.
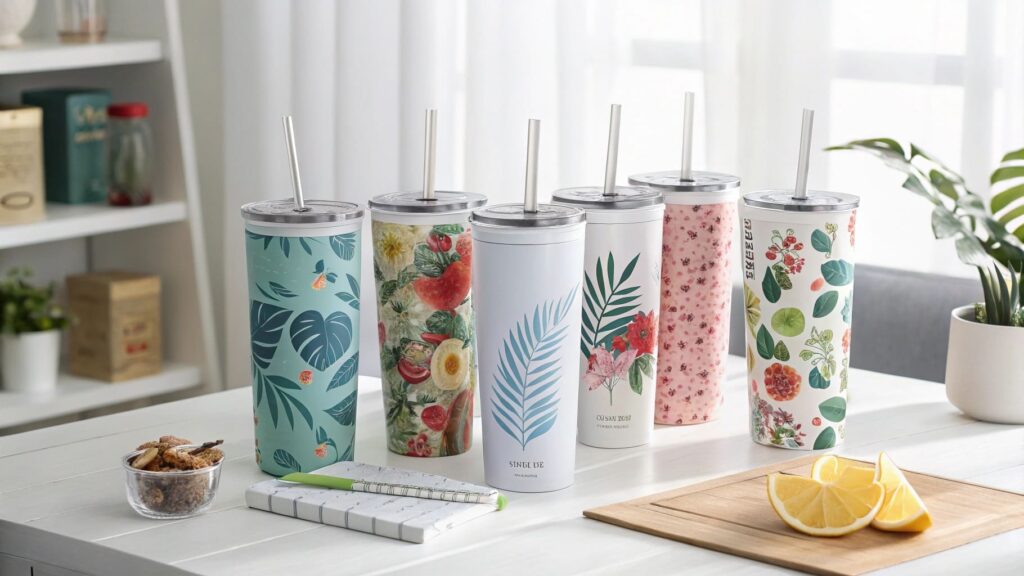
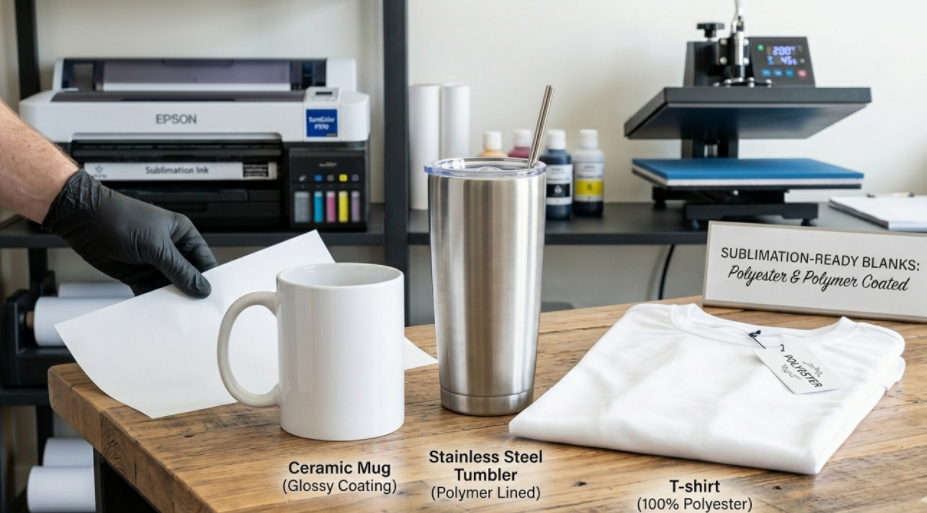
For a perfect transfer, you need a "sublimation-ready" blank. This means the item must be made of a synthetic polymer like polyester or have a special polymer coating. The sublimation ink can only bond with these specific polymers.
Dive Deeper: Why the Blank Is Half the Battle
Your heat press and printer can be top-of-the-line, but if your blank isn't designed for sublimation, the print will fail every single time. I learned this the hard way early in my career. The "blank" is the canvas for your art, and choosing a quality canvas is critical. For a designer like Emma, who needs to deliver durable and vibrant products, using the right blank is non-negotiable.
1. Natural vs. Synthetic Materials
Sublimation ink does not bond with natural fibers like cotton or untreated surfaces like plain glass or metal. The ink needs a polymer to grab onto.
- Good for Sublimation: 100% Polyester fabric, polymer-coated ceramic, polymer-coated stainless steel, specially treated MDF.
- Bad for Sublimation: 100% Cotton, regular glass, uncoated metal, wood.
2. The Quality of the Coating
Even among "sublimation-ready" blanks, quality varies hugely. A cheap mug from a non-specialist supplier might have a thin, uneven coating. This will lead to splotchy, inconsistent prints that fade in the dishwasher. A premium blank from a reputable sublimation factory will have a thick, smooth, and durable coating, which is the key to achieving that professional "pop" and longevity.
| Blank Type | Why It Works (or Doesn't) | Expected Result |
|---|---|---|
| 100% Polyester T-Shirt | The fabric itself is a polymer. | Vibrant, permanent, breathable print. |
| 100% Cotton T-Shirt | No polymers for the ink to bond with. | Faded, blurry image that will wash out. |
| Sublimation Mug | Has a thick, even polymer coating. | Sharp, brilliant, dishwasher-safe design. |
| Regular Ceramic Mug | No polymer coating. | Faint image that can be wiped off. |
How Can You Avoid Common Mistakes and Stop Wasting Money?
Your prints are sometimes blurry, sometimes faded, and sometimes your blanks are warped or scorched. You can't figure out why your results are so inconsistent from one press to the next.
This unpredictability destroys your business's ROI. Every failed blank is a loss. You can't price your products confidently because you have to account for so much waste.
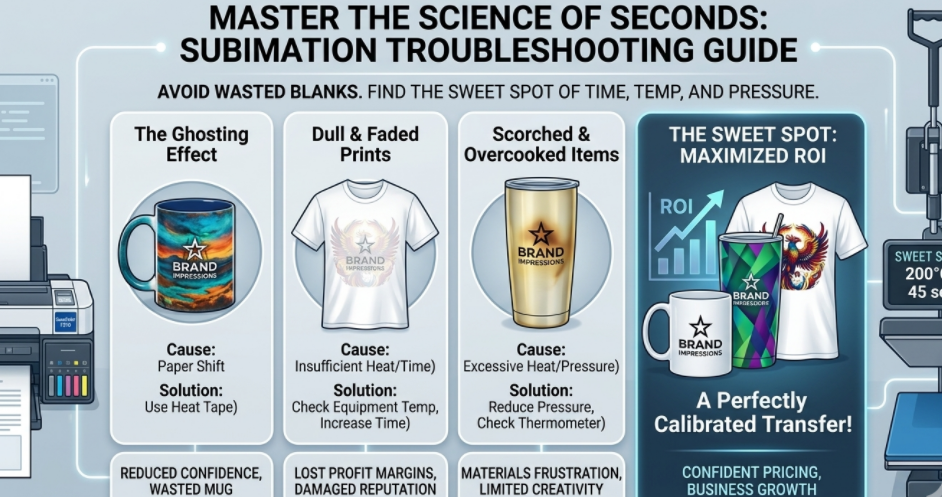
To avoid common mistakes, you must master the "Science of Seconds." You need to find the perfect "sweet spot" of time, temperature, and pressure for each specific blank. Being off by just 5 degrees or 10 seconds can ruin a print.
Dive Deeper: Finding the "Sweet Spot" for Every Blank
For me, this is where experience really comes into play. Sublimation isn't just about applying heat; it’s about finding that perfect recipe for every unique blank. Every material—be it a ceramic mug, a stainless steel tumbler, or a polyester fabric—has its own "personality." The difference between a masterpiece and a mistake often comes down to tiny adjustments. When you dial in that perfect combination, the material doesn't just hold the ink—it brings the artwork to life.
Here's how to troubleshoot the most common issues:
| Problem | Likely Cause(s) | How to Fix It |
|---|---|---|
| Ghosting / Blurry Edges | 1. Paper shifted during or after pressing. 2. Uneven or poor-quality coating. |
1. Use high-temp tape to secure the paper tightly. 2. Invest in higher-quality blanks from a trusted factory. |
| Dull / Faded Colors | 1. Not enough time, temperature, or pressure. 2. Blank is not sublimation-ready (e.g., cotton blend). |
1. Increase time or temperature slightly. 2. Ensure your blank is 100% polyester or has a proper polymer coating. |
| Brown / Scorched Areas | 1. Too much time or temperature. 2. Uneven heat from the press. |
1. Reduce time or temperature. 2. Use a Teflon sheet and ensure your press has even heat distribution. |
| Uneven / Splotchy Print | 1. Uneven pressure. 2. Moisture in the blank or paper. |
1. Adjust your press for even pressure. 2. Always pre-press items like fabric or MDF to remove moisture. |
Start with your supplier's recommendations, but always be prepared to test and tweak. Keep a notebook of the settings that work for your specific equipment. That notebook will become one of your most valuable business assets.
Conclusion
Mastering sublimation comes from using the right tools, understanding the science, and respecting the process. It's about precision and consistency, which lead to vibrant products and a thriving business.

Hi there! I'm Lucy, the guardian angel of two good children. During the day, I am a professional in the heat transfer printing industry, from factory workshops to running my own business. Here I share what I have learned - let's grow together!