How Do You Find the Perfect Time and Temp for Ceramic Mug Sublimation?

Your mugs are faded, blurry, or uneven. You're wasting expensive blanks and feel frustrated, wondering if you'll ever achieve that perfect, vibrantly colored professional finish.
The perfect setting is a consistent range, not one single number. For a standard 11oz mug in a press, a great starting point is 400°F (204°C) for 180 to 240 seconds with medium pressure. Always test your specific equipment to find your sweet spot.

When I started my sublimation trading company, my first box of mugs was a disaster. Some were faded, some were brown, and some had blurry edges. I almost gave up. I learned that the numbers on the internet are just a guide. Every heat press, every brand of mug, and even the humidity in your room can change the equation. The secret to my success, and the success of the clients I help, is learning to treat these numbers as a starting point. From there, you test and adjust until you find the perfect recipe for your specific setup. Let's break down that process.
Can you sublimate on a ceramic mug?
You see ceramic mugs for sale everywhere, often for very low prices. You're tempted to buy them, but you feel uncertain if they will actually work with your expensive sublimation setup.
Yes, you can sublimate on ceramic mugs, but ONLY if they are specifically sold as "sublimation blanks." These mugs have a special polymer coating that regular ceramic mugs do not, making them receptive to the ink.
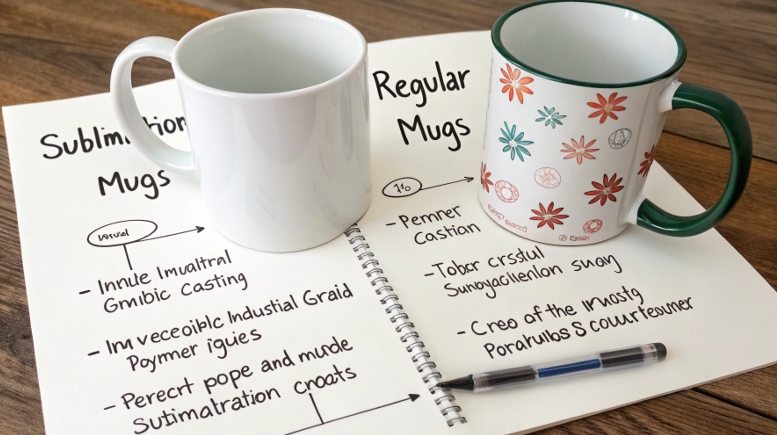
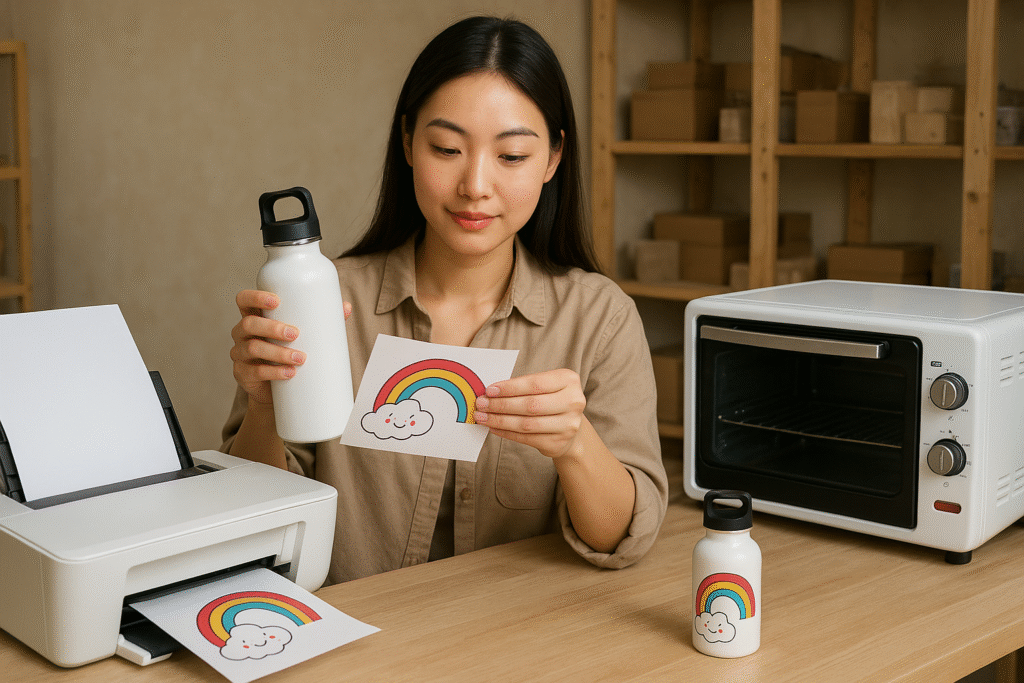
This is the most critical lesson in sublimation printing, and I learned it the hard way by wasting an entire case of mugs. You cannot tell the difference just by looking at them. A sublimation mug is a ceramic mug, but it has gone through an extra process where a clear, polymer coating is applied. My technical expert, Alex, explains that this coating is what makes sublimation possible. Under heat from your press, the pores of this polymer coating open up. The solid sublimation ink on your paper turns into a gas and goes into those open pores. As the mug cools, the pores close, trapping the ink P-E-R-M-A-N-E-N-T-L-Y inside the coating. A regular ceramic mug from a department store doesn't have this coating. The ink gas has nowhere to go, so it just sits on the surface as a faded, blurry mess that you can wipe right off.
| Mug Type | Has Polymer Coating? | Sublimation Result |
|---|---|---|
| Sublimation Mug | Yes | Vibrant, sharp, permanent image |
| Regular Ceramic Mug | No | Faded, blurry, easily wiped off |
How long to sublimate a mug at 400 degrees?
You've set your press to 400°F like everyone recommends. But the pressing time feels like a mystery, and getting it wrong means a faded design or a burnt, brown mess.
At 400°F (204°C), the ideal time for an 11oz ceramic mug in a press is typically between 180 and 240 seconds. Your exact time will depend on your specific press, the mug's thickness, and your wrap.
Think of time as the ingredient you adjust the most. 400°F is a fairly standard temperature, but the time it takes for that heat to fully penetrate the mug and activate the ink can vary. When I help a new client, I always tell them to sacrifice one mug to find their "golden time." Start in the middle, say 200 seconds. Press the mug. If the colors, especially the blacks, look faded or grayish, you need more time. Add 15-20 seconds to your next test. If the image looks blurry around the edges or the colors seem overly dark and brownish, you used too much time. This is called "blowout," where the ink gas spreads too far. Reduce the time by 15 seconds. Keep a small notebook by your press. When you find the perfect time for your setup, write it down! This simple record-keeping will save you hundreds of dollars in wasted blanks.
| Problem | Likely Cause | Solution |
|---|---|---|
| Faded or Grayish Blacks | Under-pressing (Too little time) | Add 15-20 seconds |
| Blurry Edges / Brownish Tones | Over-pressing (Too much time) | Reduce time by 15 seconds |
| Uneven / Splotchy Color | Uneven pressure or heat | Check pressure, rotate mug |
What setting do you press mugs for sublimation?
You know time and temperature are important. But your press also has a pressure knob, and you have no idea what "medium pressure" actually feels like or why it matters.
The three key settings are Temperature, Time, and Pressure. Set your press to 380-400°F (193-204°C) for 180-240 seconds with medium pressure. This ensures the sublimation paper has full, even contact with the mug's surface.

Pressure is the most overlooked setting. If the pressure is too light, there will be tiny air gaps between your paper and the mug. The sublimation gas won't transfer properly in those spots, leaving you with faded, ghost-like patches. If the pressure is too tight, you risk cracking the mug's ceramic or handle. So how do you find "medium" pressure? Here’s my simple method: place a cold mug into the press. Adjust the knob until you can close the press with some firm resistance, but not a huge effort. It should feel snug and secure. Then, take the mug out and let the press heat up. Don't adjust the pressure with a hot mug, as it can expand slightly. Alex always stresses that consistent pressure is just as important as consistent temperature for achieving professional results. It ensures the heat is delivered evenly across the entire design for a perfect, edge-to-edge print.
How long do I sublimate a ceramic mug in a convection oven?
You want to make more than one mug at a time. A convection oven seems like a great solution for batches, but the settings are completely different and you're afraid of ruining a whole tray of mugs.
In a dedicated convection oven, the settings are much different: bake at around 380-400°F (193-204°C) for a much longer time, typically 12 to 15 minutes, using silicone wraps to provide pressure.
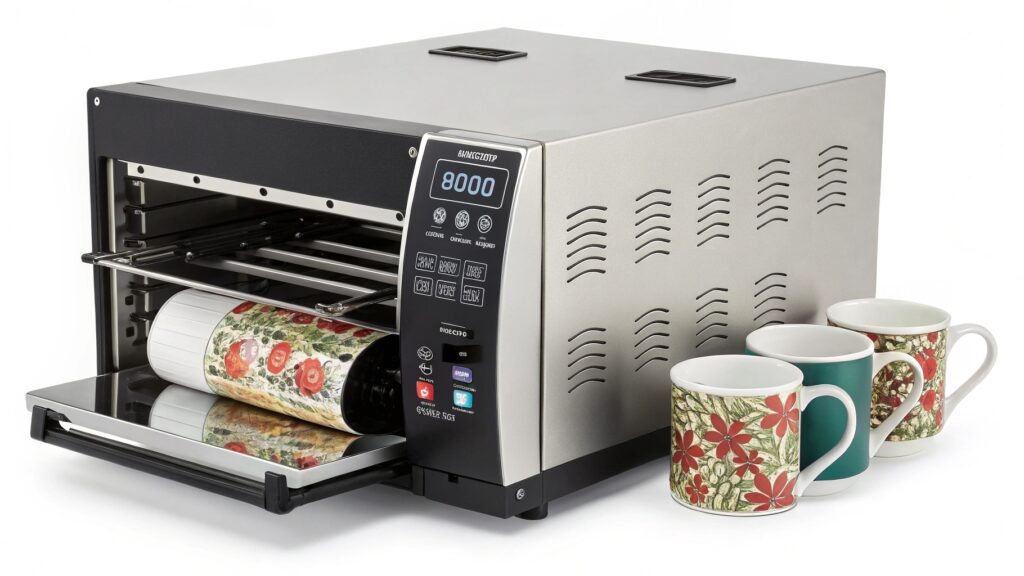
First and most importantly: never use the same oven for food and sublimation. The process releases chemicals you do not want in your dinner. You must have a dedicated craft oven. The reason the time is so much longer is because the oven heats with hot air, which is much less direct than the heating element of a mug press. You also need to provide your own pressure. This is done with silicone mug wraps that you clamp tightly around the mug and sublimation paper. I recommend rotating your mugs on the tray halfway through the baking time, at around the 7-minute mark. Most ovens have hot spots, and this rotation ensures a more even bake. While it takes longer per piece, the ability to make 4, 6, or even 8 mugs at once can dramatically increase your production speed for larger orders. Always start with a single test mug to dial in the time for your specific oven.
Conclusion
Mastering mug sublimation means testing to find your ideal time, temp, and pressure. Use these guidelines as a starting point to consistently produce vibrant, professional-quality mugs.

Hi there! I'm Lucy, the guardian angel of two good children. During the day, I am a professional in the heat transfer printing industry, from factory workshops to running my own business. Here I share what I have learned - let's grow together!