How Do You Print for Sublimation?

Want bright, long-lasting prints? Sublimation printing delivers vibrant colors that won't fade or crack. Let me show you the key steps to get professional results.
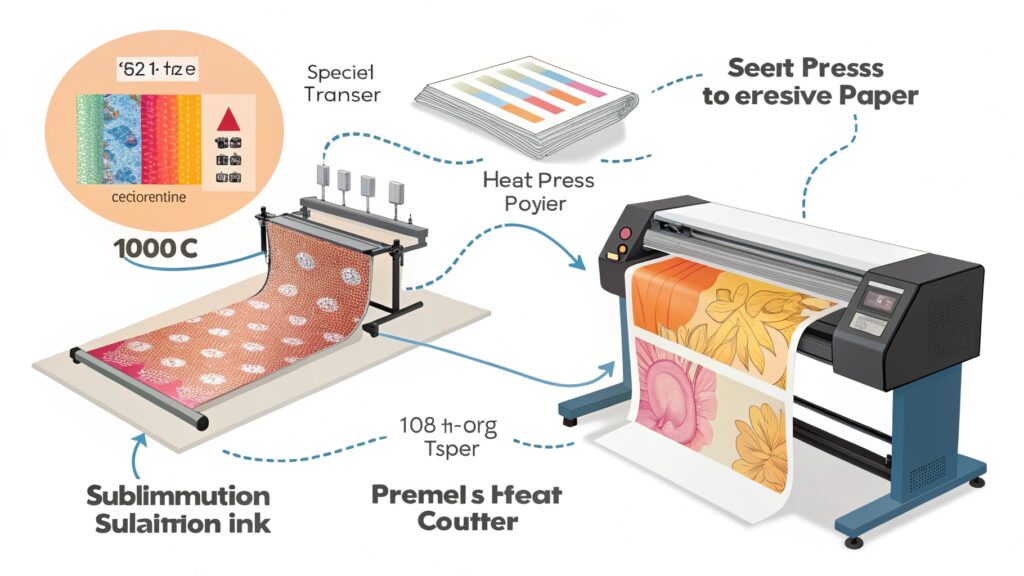
Sublimation printing uses heat to transfer dye onto polyester fabrics or coated substrates. You'll need sublimation ink, special paper, and a heat press (180-210°C). The design prints in reverse on transfer paper first, then heat bonds the ink to the material permanently.
Now that you understand the basics, let's break down each step properly. Having done thousands of sublimation transfers myself, I'll share what actually works in real production.
What Equipment Do You Need for Sublimation?
Frustrated with blurry prints? Your tools make or break sublimation quality. Here's exactly what to buy.
Essential sublimation equipment includes: a printer with sublimation ink (Epson F170), coated transfer paper (A-SUB), heat press (12×15" minimum), polyester items (65%+ poly), and design software (Adobe Illustrator). Optional: lint roller and Teflon sheets.

Breaking Down the Equipment List
-
Printers
- Modified inkjet printers work best (Epson, Sawgrass)
- Must use sublimation ink only – regular ink won't transfer
-
Printer models I recommend: Model Max Print Size Ink Type Epson F170 8.5×14" Pigment Sawgrass VJ-628 13×19" Dye-sub
-
Heat Press
- Clamshell style gives even pressure
- Digital controls for precise temperature
- Minimum size depends on your products
-
Materials
- Polyester content critical:
- 65% poly = okay
- 100% poly = best
- For non-fabric items: must have polymer coating
- Polyester content critical:
Pro Tip: Buy sample packs of transfer paper first. I wasted $200 on a bad paper brand before finding A-SUB.
How Do You Prepare Designs for Sublimation?
Seeing colors shift after pressing? Your file setup causes 90% of print problems. Fix this first.
snippet paragraph:
Design in RGB mode at 300dpi, mirror the image horizontally before printing, and use vector files (AI/EPS) for sharp edges. Convert text to outlines to prevent font issues during transfer.
Design Preparation Checklist
Follow this workflow for perfect transfers:
-
Color Setup
- Work in RGB (not CMYK)
- Use Pantone color bridges for accuracy
- Bright colors = more vivid transfers
-
File Requirements
- 300 DPI minimum resolution
- Save as TIFF or high-quality PDF
- Mirror/flip horizontal before printing
-
Common Mistakes
- Forgetting to mirror the design
- Using low-resolution images
- Not allowing bleed (add 0.25" extra)
Color Management Tip: Create an ICC profile for your specific printer/ink/paper combo. This solved my color matching headaches.
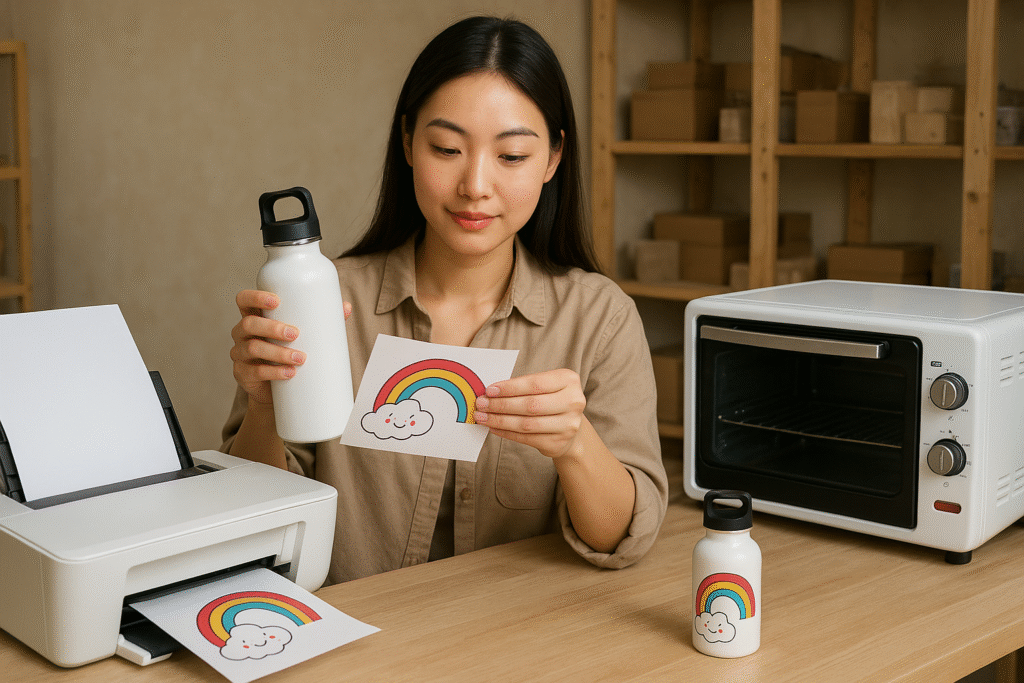
What's the Step-by-Step Sublimation Process?
Ruined another product? Timing and temperature are everything. Here's my exact pressing formula.
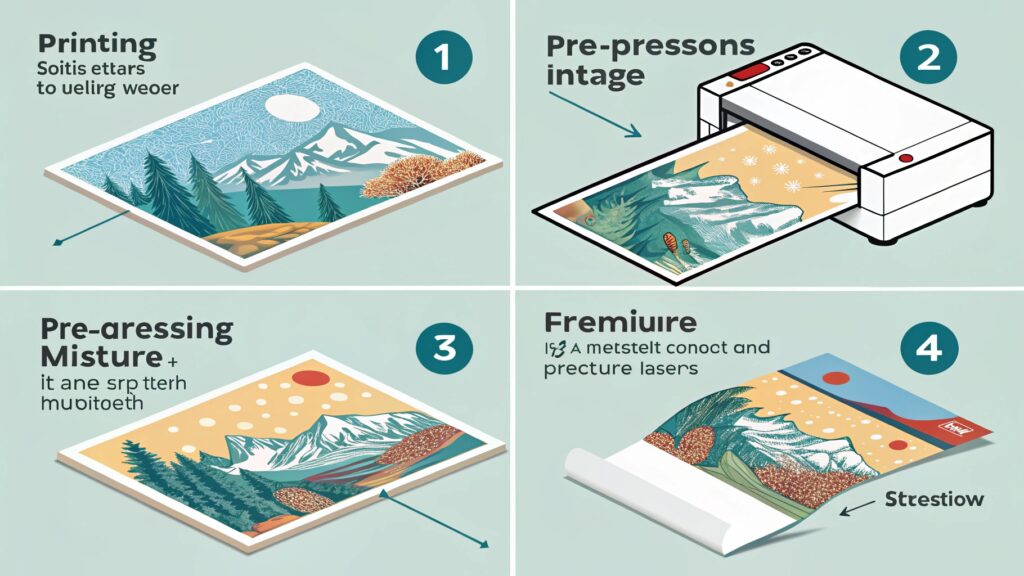
Process: 1) Print mirrored design on sublimation paper, 2) Pre-press item for 5 sec to remove moisture, 3) Align and tape transfer, 4) Press at 205°C for 40-60 sec under medium pressure, 5) Peel warm for best results.
Detailed Pressing Instructions
Follow this table for different materials:
| Material | Temp | Time | Pressure | Notes |
|---|---|---|---|---|
| Polyester shirt | 205°C | 45s | Medium | Use parchment paper |
| Ceramic mug | 200°C | 180s | High | Rotating press needed |
| Aluminum | 215°C | 90s | High | Must use protective sheet |
- Pre-pressing removes moisture that causes blurring
- Tape alignment prevents ghosting (use heat-resistant tape)
- Peel timing affects vibrancy:
- Hot peel = more vibrant but riskier
- Cool peel = safer but less bright
Troubleshooting: If colors look dull, increase temperature by 5°C increments. White marks mean uneven pressure.
Conclusion
Master sublimation printing with the right tools, proper file setup, and precise pressing. Follow these steps for professional, permanent transfers every time.

Hi there! I'm Lucy, the guardian angel of two good children. During the day, I am a professional in the heat transfer printing industry, from factory workshops to running my own business. Here I share what I have learned - let's grow together!