How Does Sublimation Printing Work on Mugs and Tumblers?
You see beautiful custom mugs everywhere, with flawless, glossy designs that look like they're part of the material itself. But the process seems like magic, a complex secret you're not in on.
This mystery makes it feel intimidating to even start. You worry about wasting expensive materials on trial and error because you don't understand the core principles behind the process.
Sublimation printing on drinkware is a heat transfer process. Special ink is printed onto paper, which is then heated against a polymer-coated mug or tumbler. The ink turns into a gas and permanently infuses into the coating, creating a vibrant, smooth, and durable design.
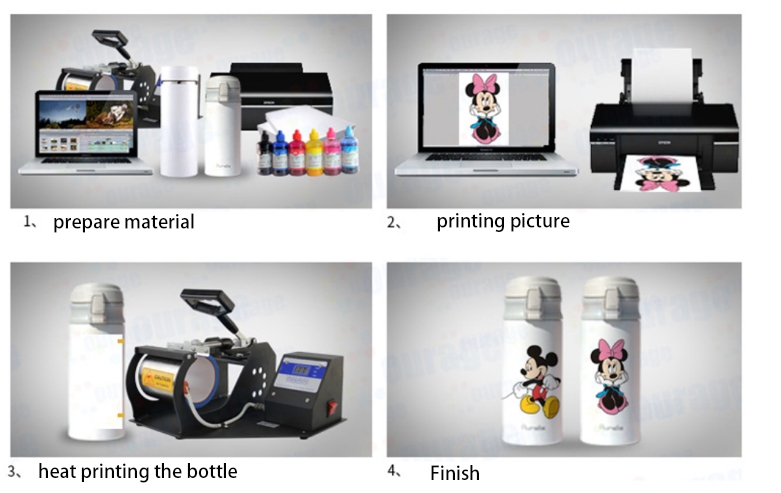
When I first moved from factory work to starting my own business, understanding this science was my "aha!" moment. It wasn't magic at all; it was a clear, repeatable process. Once I mastered it for mugs, I realized I could apply the same principles to tumblers, keychains, and a hundred other products. It was the key that unlocked my entire business. I'm going to walk you through that same science step-by-step, taking away the mystery so you can create with confidence.
How exactly does sublimation printing work on mugs?
You've bought the special mugs and the right equipment, but you're just following steps without knowing why. This makes it impossible to fix problems when they pop up.
Without understanding the "how," every failed press is a mystery. You can't troubleshoot effectively, leaving you frustrated and wasting money on blanks you have to throw away.
Sublimation works by using a mug press to apply high heat and pressure. This turns the solid ink on your transfer paper into a gas, which then bonds permanently inside the mug's special polymer coating.

Dive Deeper: The Science in Your Mug Press
I love explaining this because it's where the real magic happens. It’s a beautifully simple scientific process. For a designer like Emma, knowing this process inside-out is what transforms her from a designer into a technical expert who can guarantee flawless production. Let's break it down into four critical stages.
| Stage | What Happens | Why It's Important |
|---|---|---|
| 1. The Print | You print your mirrored design onto special sublimation paper using sublimation ink. The ink is made of solid dye particles suspended in a liquid carrier. | You must use both sublimation ink and paper. Regular ink or paper will not work. Mirroring is essential for text. |
| 2. The Prep | You securely tape the printed paper face-down onto a sublimation-coated mug. The tighter the fit, the better. Any gaps will cause problems. | The paper must be in direct, firm contact with the entire design area to ensure an even transfer of ink. |
| 3. The Press | The mug goes into a heat press set to around 380-400°F (190-200°C). The heat does two things: it turns the solid dye into a gas and opens the "pores" of the polymer coating. | Heat is the catalyst. Without it, the ink stays solid and the polymer coating remains sealed. Pressure ensures contact. |
| 4. The Infusion | The ink gas immediately permeates the open-pored polymer coating. As soon as you remove the mug and it cools, the pores close, trapping the ink permanently inside. | This is what makes the design permanent, smooth to the touch, and dishwasher safe. The ink is in the coating, not on it. |
Understanding these stages means you can diagnose problems. Faded spots? Probably a pressure issue (Stage 2). Blurry edges? The paper might have slipped while the ink was still a gas (Stage 4). It turns you from a hopeful guesser into a master of the craft.
How does sublimation printing work on tumblers?
You’ve perfected mugs, but now you want to do tumblers. You’re not sure if the process is the same, especially with their tapered shapes and full-wrap designs.
Hesitation can cost you money. The tumbler market is huge, but if you're afraid to try because you don't know the right technique, you're missing out on major sales.
The process for tumblers is the same as for mugs, using heat and pressure to infuse ink into a polymer coating. The main difference is the equipment, often requiring a larger press or a convection oven with shrink wrap.
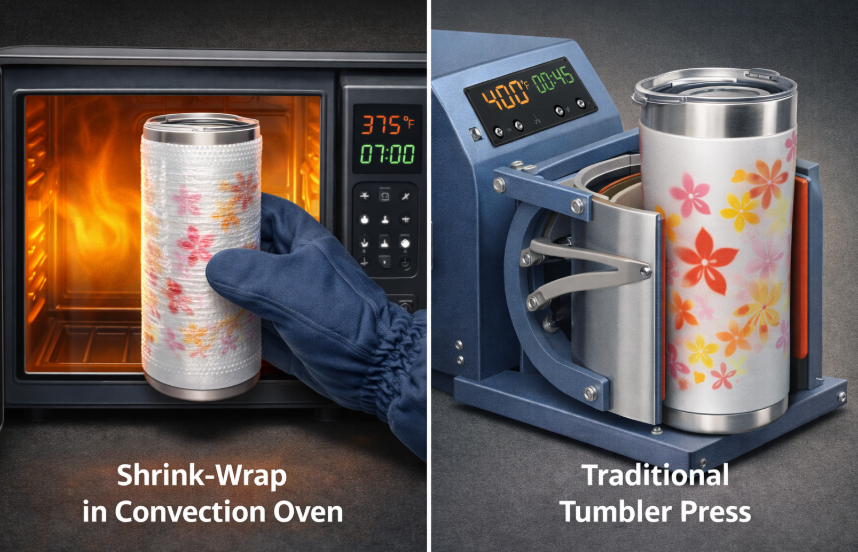
Dive Deeper: Adapting the Science for a Different Shape
When I expanded my product line to include tumblers, I realized the core science didn't change at all—just my tools. The same four stages of print, prep, press, and infusion apply perfectly. The challenge with tumblers, especially the popular 20oz skinny tumblers, is achieving even heat and pressure all the way around.
There are two primary methods to do this:
1. The Tumbler Press Method:
This is very similar to a mug press, but it has a longer heating element to cover the entire tumbler.
- Pros: It's fast and efficient for doing one tumbler at a time. The pressure is applied mechanically, so it's very consistent.
- Cons: You need a press specifically for your tumbler size. A standard press won't work on tapered tumblers, and you can only do one at a time. It's also harder to get a perfectly seamless wrap because the pressure can be weaker at the very top and bottom edges.
2. The Convection Oven and Shrink Wrap Method:
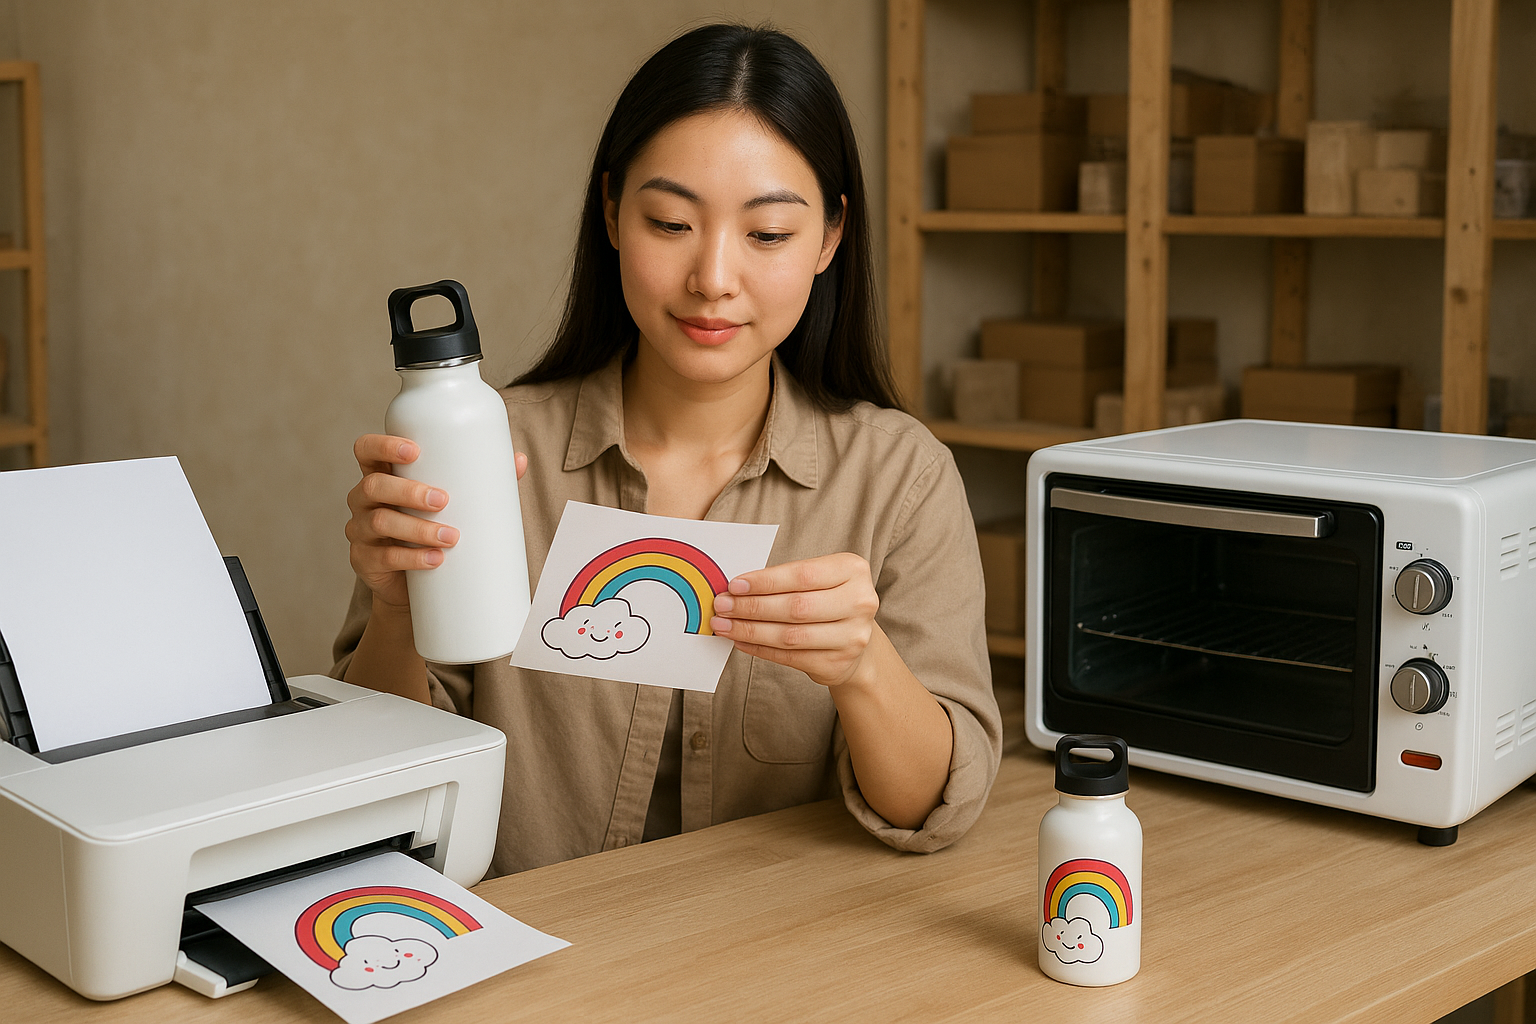
This is my preferred method for high-volume orders. You tape your design to the tumbler, slide it into a special shrink-wrap sleeve, and use a heat gun to tighten the sleeve. Then you bake it in a dedicated convection oven.
- Pros: You can do multiple tumblers at once. The shrink wrap provides incredibly even pressure around the entire tumbler, including tapered shapes, which results in flawless, seamless full-wrap designs.
- Cons: It requires a separate, dedicated convection oven (you should NEVER use the same oven you cook food in). The process has more steps (wrapping, using a heat gun, baking) and takes longer per batch.
For anyone serious about selling tumblers, like Emma would be, mastering the convection oven method is a true game-changer for quality and efficiency.
What are the most common problems with sublimation tumblers?
You've started making tumblers, but your results are inconsistent. You’re seeing faded spots, ugly seams, and weird marks that are turning your beautiful designs into B-grade products.
Every failed tumbler is a direct hit to your profit margin. The frustration of not knowing what you're doing wrong can make you want to give up on this very popular product.
The most common problems on sublimation tumblers are ghosting, uneven color, visible seams, and tape marks. These are almost always caused by improper pressure, uneven heat, or incorrect taping techniques during the pressing stage.
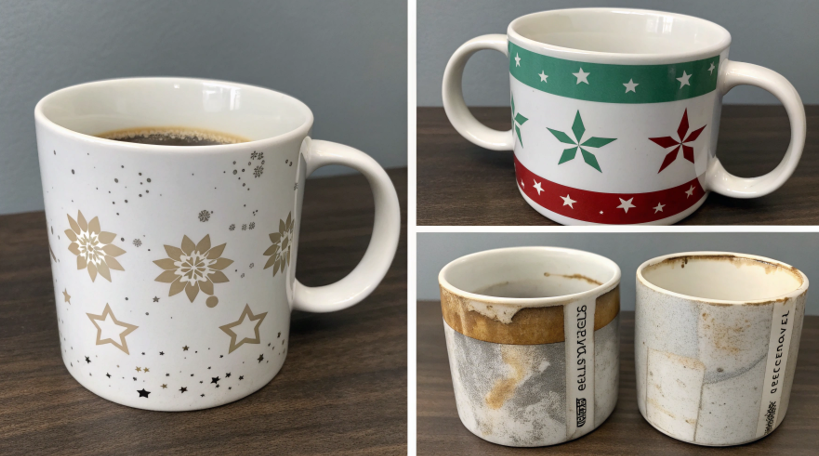
Dive Deeper: Troubleshooting Your Tumbler Troubles
I’ve wasted more tumblers than I care to admit, but every single mistake taught me how to perfect my process. Let me save you the trouble by breaking down the top four problems and how to fix them.
-
Ghosting or Blurry Edges:
- The Problem: A faint, shadowy double of your image appears next to the crisp design.
- The Cause: The paper shifted slightly on the hot tumbler when you were removing it, while the ink was still in a gaseous state.
- The Fix: Tape your paper down securely so it cannot move. When you remove it from the press, immediately peel off the paper in one quick, clean motion while wearing heat-resistant gloves. Don't let it slide or fall back onto the tumbler.
-
Uneven Color or Faded Patches:
- The Problem: Parts of your design are vibrant while others look faded.
- The Cause: This is a classic pressure and heat issue. The faded areas weren't receiving enough firm pressure or consistent heat for the ink to transfer properly.
- The Fix: If using a press, ensure the pressure is firm and even. If using an oven, make sure your shrink wrap is tightly applied everywhere and that you rotate the tumblers halfway through baking for even heat distribution.
-
The Ugly Seam:
- The Problem: The back of your full-wrap design has a noticeable white or faded line where the paper met.
- The Cause: The paper edges either didn't overlap enough, or there wasn't firm pressure along the seam.
- The Fix: Make sure your design is printed slightly wider than the tumbler's circumference so the paper can overlap by a small amount. Tape this seam down firmly and tightly along its entire length.
-
Faded Lines from Tape (Tape Marks):
- The Problem: You have faint, discolored lines on your final product exactly where you placed your heat tape.
- The Cause: The tape created an extra pressure barrier, blocking the ink gas from fully reaching the coating.
- The Fix: Tape smarter. Place your tape on the overlapping paper seam, not directly on the print area touching the tumbler. For top and bottom edges, try to tape on the paper just outside the design area. Using a layer of blowout paper (plain copy paper) wrapped around the tumbler can also help diffuse the pressure from the tape.
Can I just use a mug from the Dollar Tree to sublimate?
You're at a dollar store and see a stack of plain white mugs for a dollar each. Your mind races, thinking you've just discovered the ultimate money-saving hack for your business.
This is a very tempting trap that leads only to disappointment. You'll go home, press a mug, and watch in frustration as absolutely nothing happens, wasting your time and ink.
No, you absolutely cannot sublimate on mugs from a dollar store. These mugs lack the special polymer coating that is essential for the sublimation ink to bond with the surface.
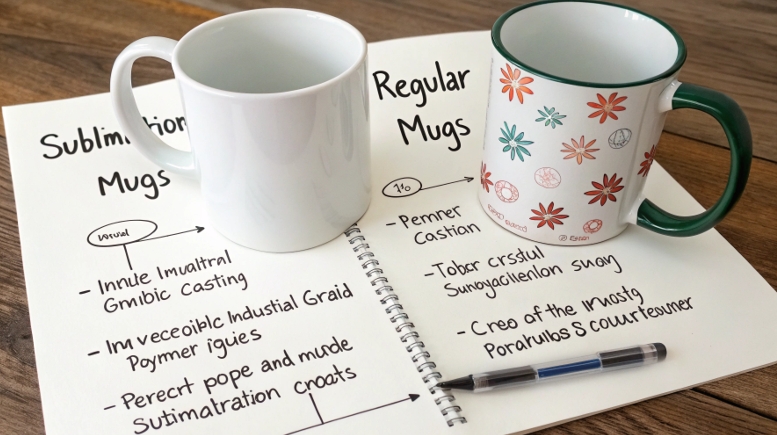
Dive Deeper: Why the Coating is Not Optional
I wish I could tell you this shortcut works. Believe me, when I was struggling to start my business, I looked for every possible way to save money. But the science of sublimation is non-negotiable.
Think back to Stage 3 of our process: the heat opens the "pores" of the polymer coating. A regular ceramic mug from the dollar store doesn't have this coating. It's just glazed ceramic. When you heat it, there are no pores to open. The sublimation ink turns to gas, has nowhere to go, and simply floats away. At best, it might leave a faint, blurry stain on the glaze that will wash off immediately.
The Golden Rule of Sublimation Blanks: An item must be specifically manufactured and sold "for sublimation." This means it has gone through an industrial process where the polymer coating was applied and cured. There is no DIY spray or solution you can buy that will reliably and safely replicate this factory-grade coating for drinkware.
Trying to save a dollar or two on a blank mug will cost you five dollars in wasted ink, paper, electricity, and time. More importantly, it will damage your confidence. Invest in proper sublimation blanks from a reputable supplier. It's the only way to guarantee a professional, permanent, and sellable product that your customers will love.
Conclusion
The sublimation process is a straightforward science. Master the relationship between heat, pressure, and polymer-coated materials, and you will be able to create flawless, professional-quality mugs and tumblers every single time.

Hi there! I'm Lucy, the guardian angel of two good children. During the day, I am a professional in the heat transfer printing industry, from factory workshops to running my own business. Here I share what I have learned - let's grow together!