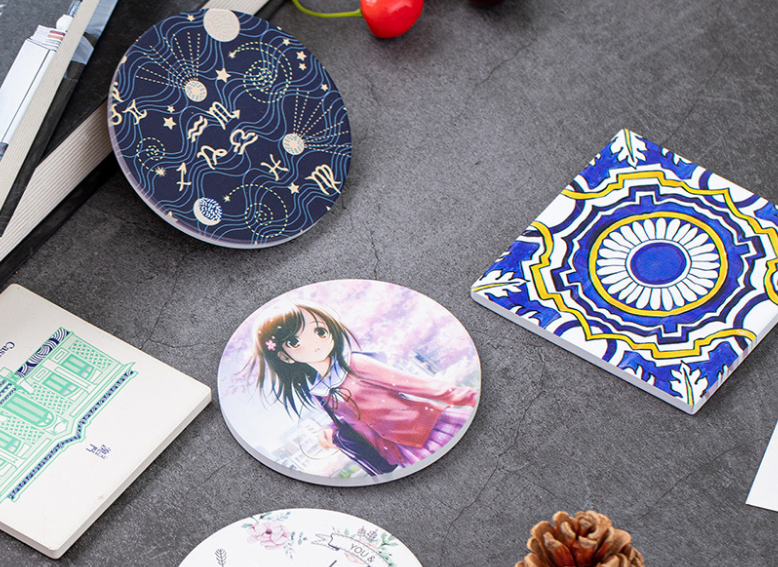
How long to sublimate on a ceramic coaster?
You've ruined another coaster with a blurry image or brown scorch marks. Wasting expensive blanks is frustrating and costly. You feel like you're just guessing with your heat press settings.
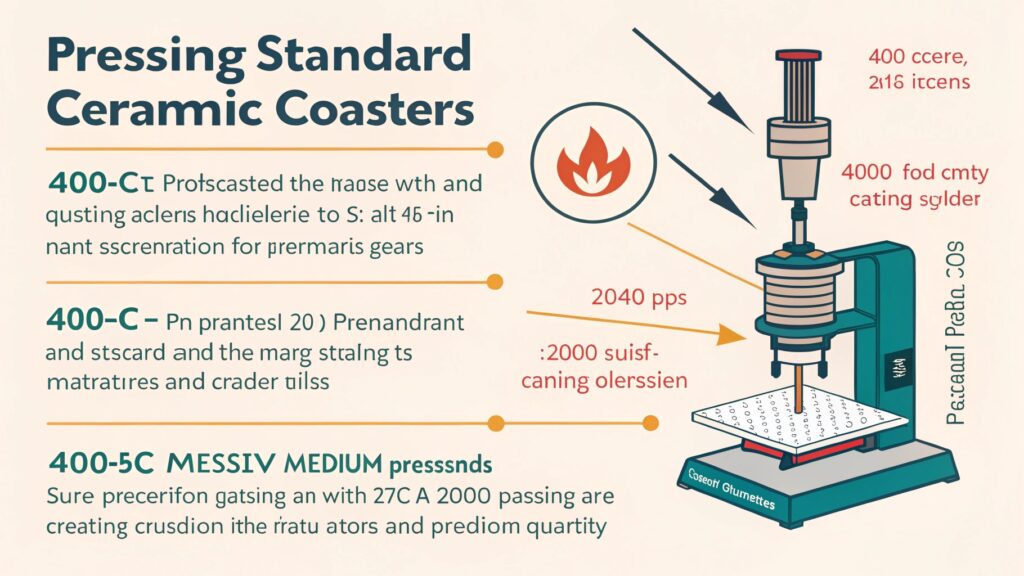
For a standard ceramic coaster, press at 400°F (200°C) for around 200-240 seconds using medium pressure. This is a solid starting point, but always check the manufacturer's guide, as coatings vary. This will give you vibrant, permanent results almost every time.
I remember when I first started my trading company, ceramic coasters were one of the first hard-surface products I offered. I must have wasted two dozen of them before I got it right. They were either faded or burnt. I finally called my friend Alex, the heat press specialist, and he laughed. He told me that sublimation is a science, not a guessing game. It's about finding the perfect "recipe" of time, temperature, and pressure for your specific item and equipment. Once you understand that recipe, you can get perfect results every single time. Let's break down that recipe so you can stop wasting blanks and start making beautiful, profitable products.
What temperature and time for ceramic sublimation?
You look online and find ten different answers. One blog says 180 seconds, another says 300. You're afraid to press your expensive blanks with the wrong information.
A reliable starting point for any ceramic item is 400°F (200°C), pressed for 200 to 240 seconds. This range works for most coasters and tiles. Always use medium pressure and test a single item first before doing a large batch.
When you sublimate, you are turning solid ink into a gas that bonds with the polymer coating on the ceramic. To do this, you need the right amount of heat for the right amount of time. Alex explained it to me as the "Three Pillars of Sublimation."
The Three Pillars of Sublimation
- Temperature: This is what turns the ink into a gas. For ceramics, 400°F (200°C) is the magic number. If it's too low, the ink won't transfer fully, and your image will look faded.
- Time: This is how long the ceramic needs to be heated for the gas to transfer and bond properly. For most coasters, 200-240 seconds is the sweet spot. Too little time leads to a weak image; too much time can cause the image to bleed or the coaster to turn brown.
- Pressure: This ensures the sublimation paper makes perfect contact with the entire surface of the coaster. For a flat ceramic coaster, you need firm, even pressure.
Think of it like baking a cake. If the oven is too cold or you don't leave it in long enough, you get a gooey mess. Sublimation is the same. The settings are your recipe for success.
What are the settings for sublimation coasters?
You have the basic time and temp, but your prints still look off. The edges are faded or the image isn't sharp. Your coasters just don't look professional.
The ideal settings for a ceramic coaster are 400°F (200°C) for 210-240 seconds with medium pressure. But settings also include prep work: clean the coaster, tape the design down tightly, and use protective paper.

Getting a perfect coaster is about more than just numbers on a machine. It's about the whole process. When I finally created a checklist, my success rate went to nearly 100%. Alex helped me refine it. He stressed that a clean surface and a tightly secured transfer are just as important as the heat press settings. Any dust or oils on the coaster can create spots in the final print, and if the paper moves even a millimeter, you'll get a blurry "ghost" image. Here is the exact checklist I use to get perfect results. Follow these steps, and your coasters will look amazing.
| Step | Action | Detail / Why It's Important |
|---|---|---|
| 1. Set Equipment | Temp: 400°F / 200°C, Time: 210s | This is the baseline recipe for most ceramic coasters. |
| 2. Prepare Press | Place protective paper on bottom | Prevents ink from staining your heat press mat. |
| 3. Clean Coaster | Wipe with a microfiber cloth | Removes any dust or fingerprints that can ruin the print. |
| 4. Align & Tape | Place design facedown, use heat tape | Tape securely on two sides to prevent the paper from shifting. |
| 5. Press | Place coaster face up, cover with paper | The top paper protects your heat platen from any escaping ink. |
| 6. Cool | Remove carefully with heat gloves | The coaster will be extremely hot. Place it on a cooling rack. |
How long do you press sublimation ceramic ornaments?
You perfected your coasters, but now your ceramic ornaments are burning. The settings that worked before are ruining these smaller, thinner items. You're back to wasting blanks.
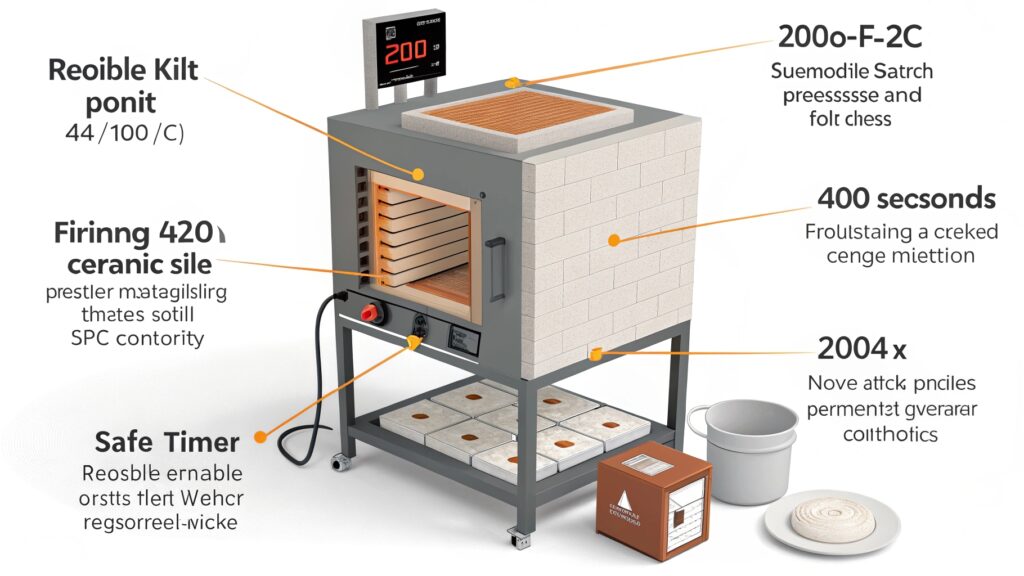
Ceramic ornaments usually need less time, around 180-200 seconds at 400°F (200°C). Because they are often thinner and smaller than coasters, they absorb heat much faster, requiring less time to sublimate properly.
This is a mistake I made myself. I assumed all ceramics were the same. I used my coaster settings on a batch of Christmas ornaments and they all came out with a brownish tint. Alex explained that the material's thickness and density, what he calls its "thermal mass," changes the recipe. A thick, heavy coaster needs more time to heat all the way through. A thin, lightweight ornament heats up very quickly. If you press it for too long, you are essentially "overcooking" the ink, which causes the colors to darken and shift. You have to adjust your time based on the specific blank you are using. The best practice is to always reduce your press time by about 20-30% when moving from a thick coaster to a thinner ornament, and then do a test print to confirm.
General Rule for Ceramic Thickness:
- Thick (Coasters, Tiles): Longer time (200-240s)
- Thin (Ornaments, Pendants): Shorter time (180-200s)
Always start with the manufacturer's recommendation if you have it. If not, this rule of thumb is a great place to start.
What is the time and temperature for ceramic coasters?
You followed the instructions, but your coaster still doesn't look right. The colors are weak or the image is blurry, and you have no idea what you're doing wrong.
If the standard 400°F for 210 seconds isn't working, you need to troubleshoot. Dull colors mean not enough time or pressure. Blurry images mean the paper shifted. A brown tint means too much time or heat.
When a print fails even with the right settings, it's time to play detective. Over the years, I've seen every possible mistake, and they almost always come down to a few common issues. It's usually not a broken machine; it's a small process error. Alex helped me create a troubleshooting chart to quickly diagnose and fix these problems. By looking at how the print failed, you can figure out exactly what to adjust for your next attempt. This is how you turn a failed blank into a valuable lesson. Remember to only change one setting at a time when you are testing, so you know exactly what fixed the problem.
| Problem | Likely Cause | How to Fix |
|---|---|---|
| Faded / Dull Colors | Under-pressing (not enough time/heat) | Increase press time by 15 seconds or increase pressure slightly. |
| Blurry / Ghost Image | Paper shifted during or after pressing | Use more heat tape. Open and close the press without any sliding. |
| Brown or Yellow Tint | Over-pressing (too much time/heat) | Reduce press time by 15-20 seconds. |
| Uneven / Splotchy Color | Uneven pressure or a cold spot | Check your press for even pressure. Use a teflon or rubber pad. |
Conclusion
Perfecting sublimation on ceramic coasters is a science you can master. Start with 400°F for 210-240 seconds, test your process, and don't be afraid to adjust for flawless results.

Hi there! I'm Lucy, the guardian angel of two good children. During the day, I am a professional in the heat transfer printing industry, from factory workshops to running my own business. Here I share what I have learned - let's grow together!