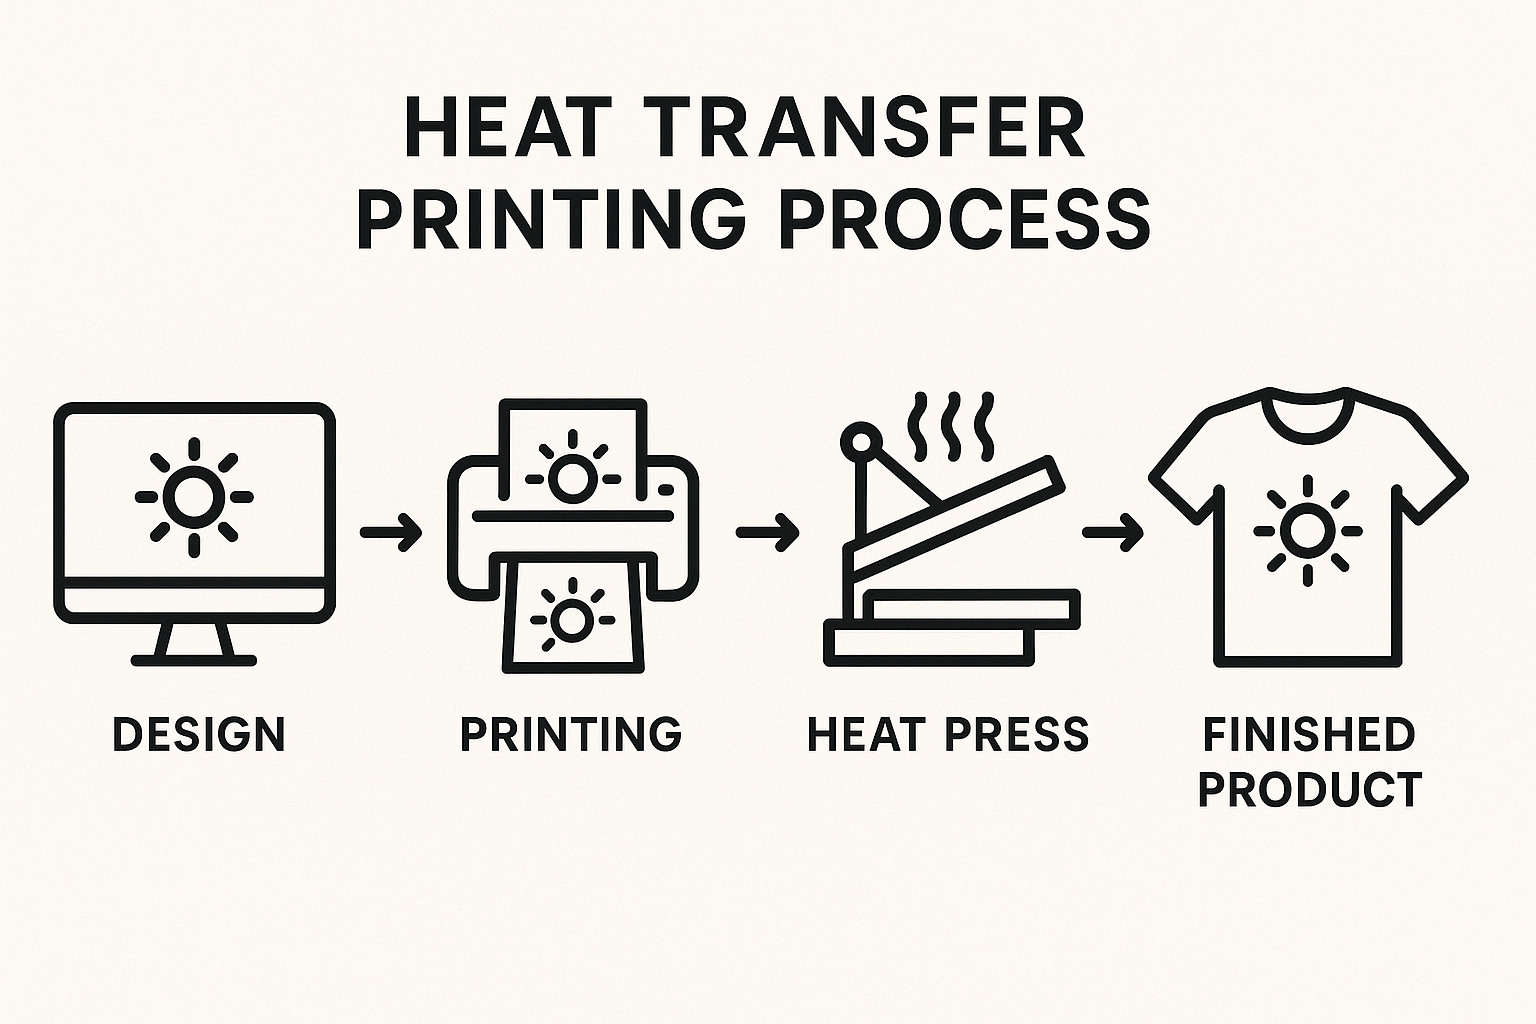
Important Considerations for Heat Transfer Printing
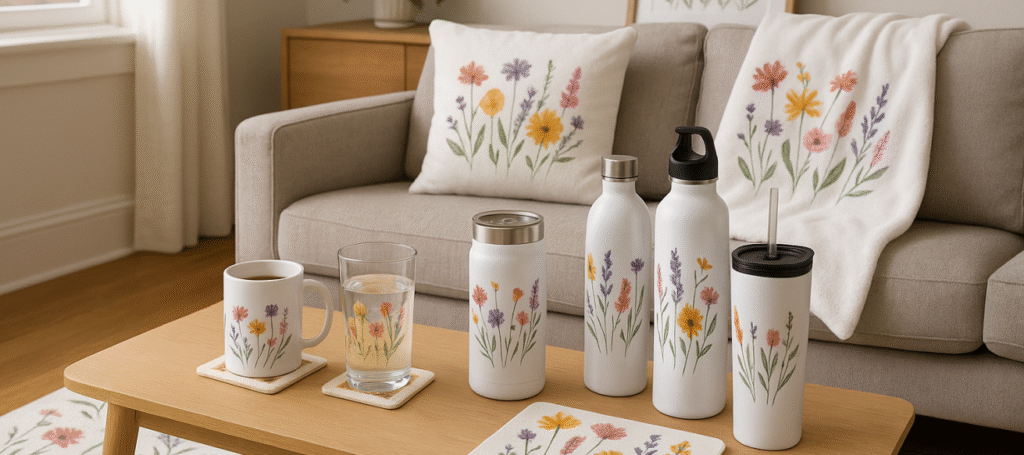
As a manufacturer of blank products for heat transfer printing, I’ve learned that achieving high-quality results requires attention to several critical factors. Whether you’re new to this printing method or looking to improve your existing process, here are the key considerations for successful heat transfer printing.
Understanding Your Substrate
The material you’re printing onto significantly impacts your results. Different substrates require specific temperature settings, pressure levels, and dwell times:
Polyester and polymer-coated items typically accept transfers well at 350-375°F (175-190°C)
Cotton blends might require 330-350°F (165-175°C)
Ceramics and metals often need higher temperatures and longer dwell times
Nylon and heat-sensitive materials demand lower temperatures and special transfer papers
Always test your specific material combinations before beginning production runs.
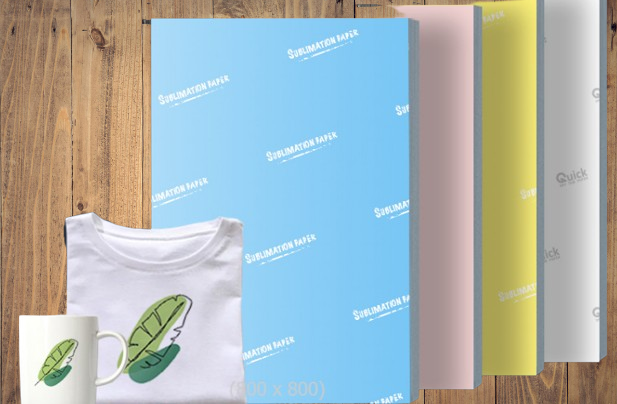
Transfer Paper Selection Matters
Not all transfer papers are created equal! Consider:
Light vs. dark substrate papers – these are formulated differently
Inkjet vs. laser printer compatibility
Cold or hot peel options – affecting your workflow timing
Specialty papers for unique materials like metals or ceramics
The right paper dramatically improves color vibrancy, durability, and overall print quality.
Heat Press Settings: The Trifecta
Successful heat transfer printing depends on three critical variables:
Temperature – Must be accurate and consistent across the entire press surface
Pressure – Too light fails to transfer; too heavy can damage substrates
Time – Typically 10-30 seconds, but varies significantly by material
Document your successful combinations for consistent results.
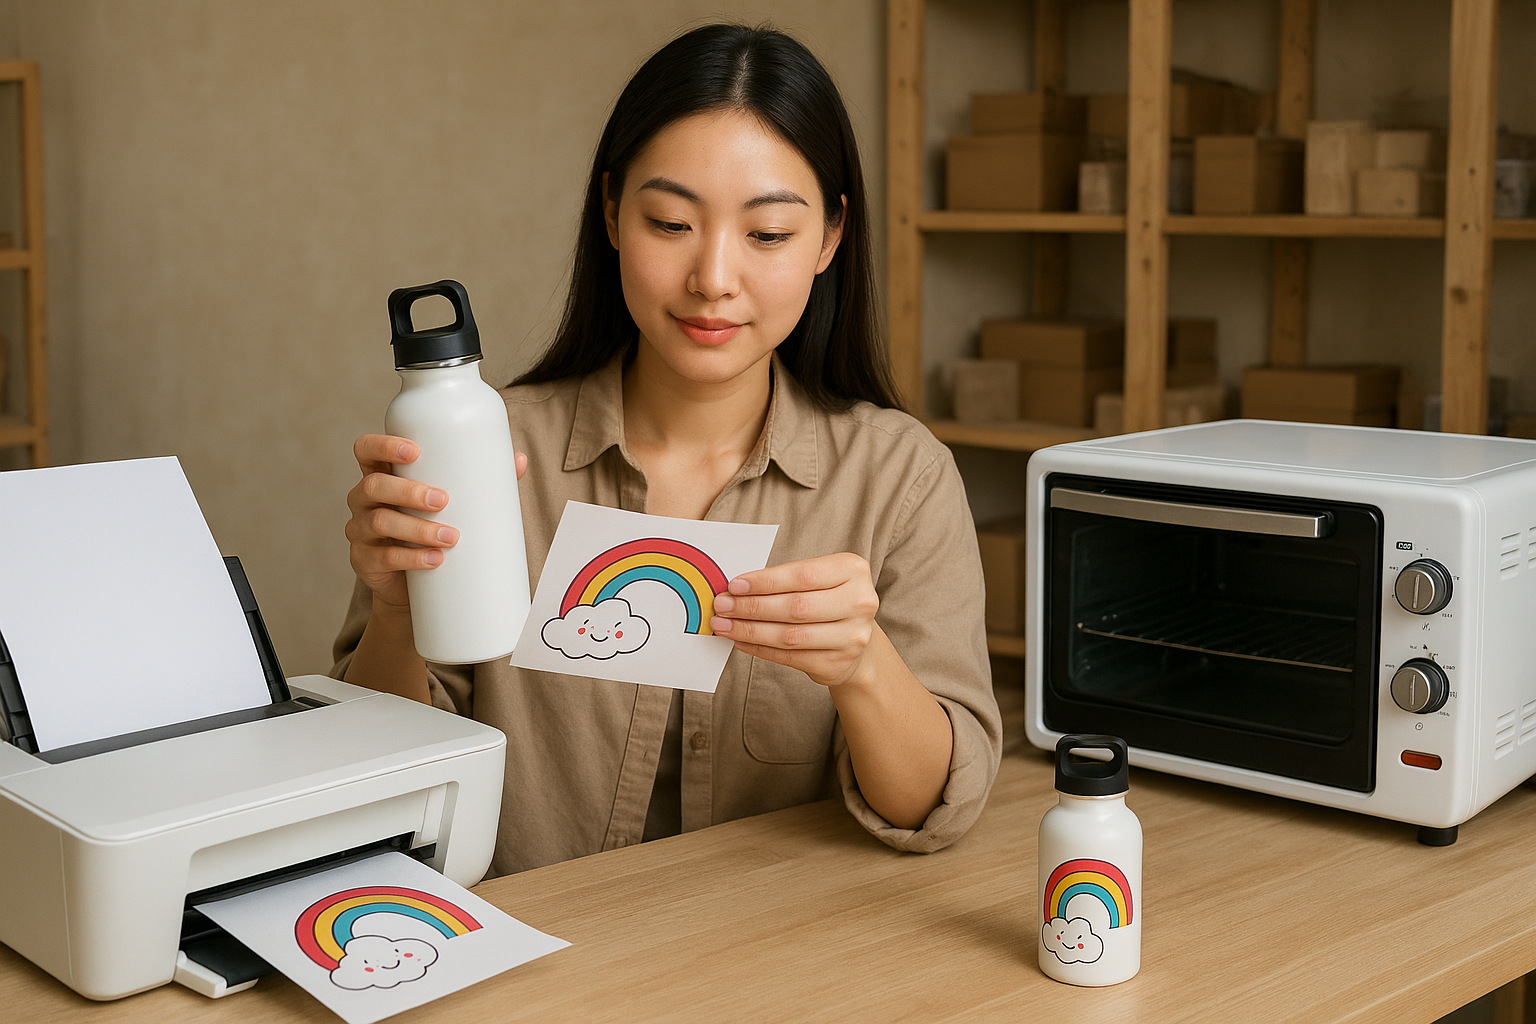
Pre-Press Preparation
Your workflow before pressing affects quality:
Ensure substrates are clean, dry, and lint-free
Pre-heat items for 5-10 seconds to remove moisture
Position transfers precisely with heat-resistant tape if needed
Consider using Teflon sheets to prevent scorching
Post-Press Handling
How you handle items after pressing impacts durability:
Follow proper peel techniques (hot vs. cold) based on your transfer paper
Allow items to cool completely before stacking or packaging
Provide proper care instructions to customers (typically waiting 24 hours before washing, washing inside-out, etc.)
Troubleshooting Common Issues
Even experienced printers encounter problems:
Incomplete transfers: Check temperature, pressure, and dwell time
Fading after washing: Consider pre-treatment solutions or higher-quality transfer papers
Scorching: Reduce temperature or use protective sheets
Ghosting or double images: Ensure stability during pressing
Conclusion
Heat transfer printing offers incredible versatility for customizing blank products, but success lies in understanding your materials, maintaining precise control of your equipment, and following proven processes. By giving attention to these critical factors, you’ll create transfers that maintain their vibrancy and durability through years of use.
What heat transfer printing challenges have you encountered? I’d love to hear your experiences in the comments below!