What Is a Sublimation Water Bottle?

You've seen those beautiful, custom water bottles with vibrant, seamless designs. You hear the term "sublimation" but aren't sure what makes these bottles different from regular ones.
This confusion can be costly. You might waste money on supplies that don't work or end up with a peeling, faded design after just a few washes.
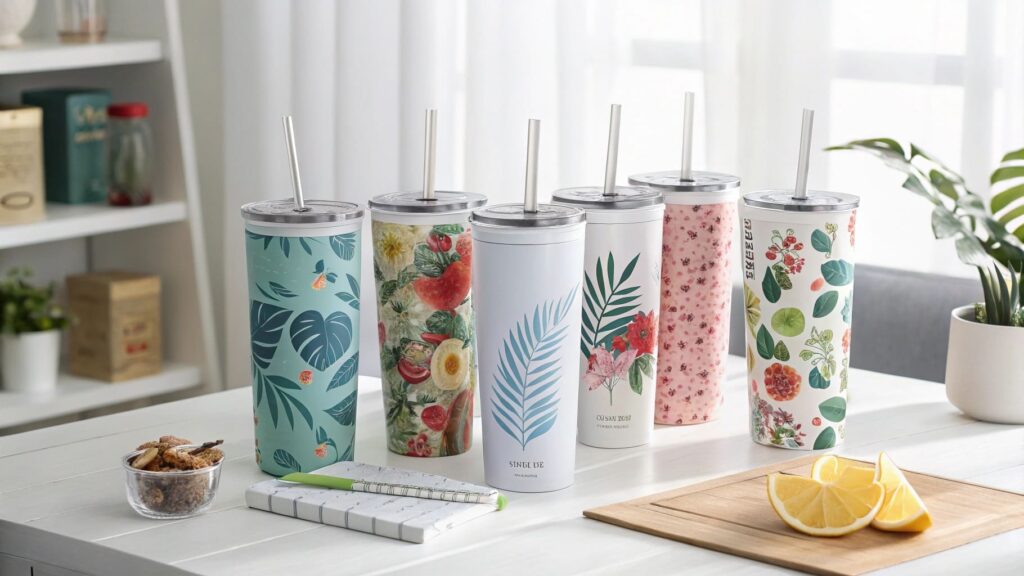
A sublimation water bottle isn't just any bottle; it has a special coating that allows it to absorb ink permanently. This is the secret to creating durable, professional-quality custom drinkware.
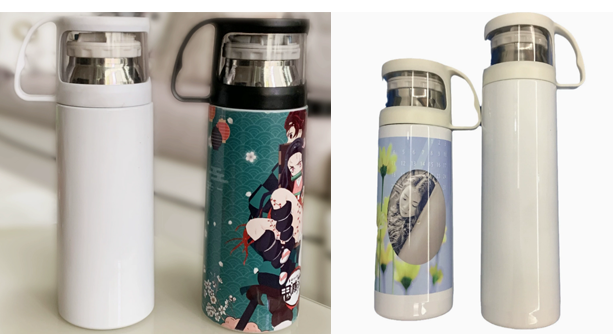
The key to a successful sublimation project is knowing that the magic is in the surface. A true sublimation water bottle has a special polymer coating designed to work with sublimation inks. Regular water bottles, even if they're stainless steel, lack this coating and cannot be used for this process. Understanding this fundamental difference is the first step. It's a game-changer that opens up a world of permanent, photo-quality designs, and it’s the technology I built my entire business on.
What exactly is sublimation?
You hear "sublimation" used in the printing world, but the term sounds like a complex chemistry lesson. It feels intimidating and might stop you from exploring this creative method.
Not understanding the process makes it seem like magic. This can be frustrating when you want to achieve professional results and need to troubleshoot any issues.
Sublimation is a printing process where heat turns special solid ink directly into a gas. This gas then bonds with the polymer coating of an item, becoming a permanent part of the surface.
Dive Deeper: From Solid Ink to Permanent Design
I remember the first time I saw sublimation in action at the factory. I peeled the paper off a mug, and the design was completely gone from the paper and perfectly infused into the mug's surface. It blew my mind! For a designer like Emma, understanding this process is key to unlocking its power.
The word "sublimation" is just a scientific term for when a solid turns directly into a gas, skipping the liquid phase. Think of dry ice. In printing, we use this process to transfer a design.
- The Ink: We start with special solid ink particles printed on transfer paper.
- The Heat: We apply high heat with a press. This heat turns the solid ink on the paper into a gas.
- The Transfer: At the same time, the heat opens up the pores of the polymer coating on the water bottle (or mug, or shirt).
- The Bond: The ink gas flows into these open pores. Once you remove the heat, the pores close, trapping the ink inside.
The design isn't sitting on top like a sticker; it's inside the surface.
| Feature | Surface Printing (Vinyl/Stickers) | Sublimation Printing |
|---|---|---|
| Placement | On top of the surface | Inside the surface coating |
| Feel | You can feel the edge | Perfectly smooth |
| Durability | Can peel, crack, or fade | Permanent, won't peel or crack |
| Result | A sticker on a bottle | The bottle is the design |
What are the downsides of sublimation?
Sublimation looks like the perfect printing method. You might be wondering, "What's the catch? It seems too good to be true."
Jumping into sublimation without knowing its limitations can be a recipe for disaster. You could waste money on the wrong equipment or get frustrated when your designs don't turn out right.
The main downsides are that you need specific polymer-coated items (blanks), the initial equipment can be expensive, and the process only works effectively on white or very light-colored surfaces.

Dive Deeper: The Honest Truth About Sublimation's Limits
I love sublimation, but I'm always honest with people about its challenges. It’s important to know the full picture before you invest your time and money. For a professional like Emma, knowing the constraints is just as important as knowing the benefits.
Here are the three main hurdles to consider:
-
Investment in Special Equipment: You can't just use any printer. You need a dedicated sublimation printer (or a converted inkjet printer), special sublimation inks, transfer paper, and a heat press (like a mug press or a convection oven). This initial setup costs more than starting with vinyl or paint pens.
-
Requirement for Special Blanks: This is the most common point of confusion. Sublimation only bonds with polyester or polymer coatings. This means you can't just grab any bottle or cotton t-shirt. You must buy products specifically sold as "sublimation blanks." They look the same but have that invisible magic coating.
-
Color and Material Limitations: Sublimation ink is transparent, not opaque. This means two things. First, there is no white ink. Any white in your design will simply be the white color of the blank itself. Second, you cannot print on dark or black items. Printing a yellow design on a blue bottle will result in a green design. For true, vibrant colors, you must start with a white surface.
How do you use sublimation on a water bottle?
You have your sublimation-ready water bottle and your design. Now you need to know the exact steps to get that design from your screen onto the bottle permanently.
The process can seem complicated, with talk of temperatures, times, and pressure. One wrong step could lead to a blurry, faded, or discolored print, wasting an expensive blank.
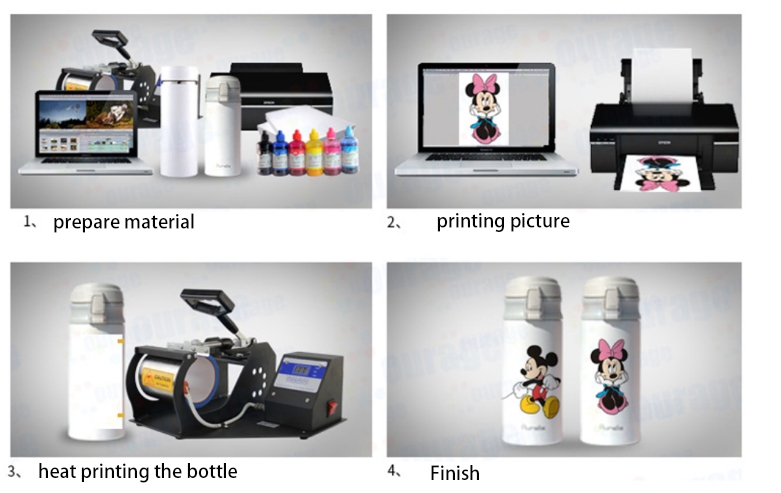
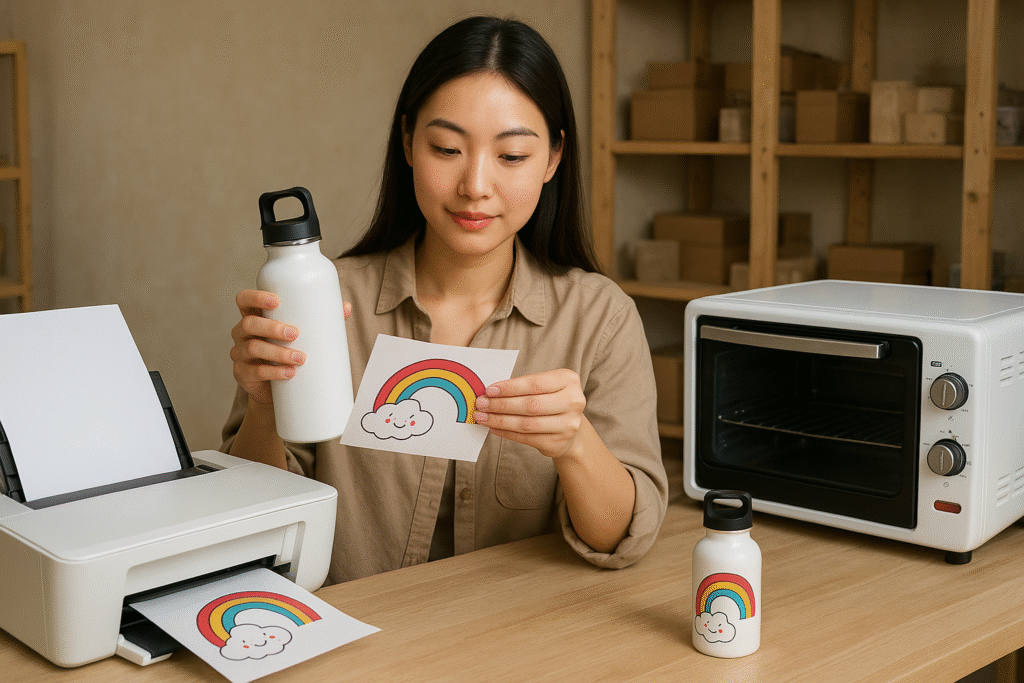
The process involves printing your mirrored design on sublimation paper, taping it tightly to the bottle, and applying consistent heat and pressure with a mug press or convection oven to transfer the ink.
Dive Deeper: A Step-by-Step Guide for a Perfect Print
Over the years, I have sublimated thousands of bottles. I’ve learned that success comes from a precise and consistent workflow. A designer like Emma appreciates precision, so here is the method I follow every time.
Preparation is Everything:
- Clean the Bottle: Wipe the bottle with a microfiber cloth and rubbing alcohol to remove any dust or fingerprints. Oils from your skin can ruin the print.
- Print Your Design: Print your artwork using sublimation ink on sublimation paper. You must mirror the image in your printer settings. If you forget this step, all text will be backward.
- Trim and Wrap: Trim the excess paper around your design. Wrap it tightly and evenly around the bottle. Any loose areas will cause ghosting or blurry spots. Use heat-resistant tape to secure the paper firmly at the seam and around the top and bottom. Make it snug!
The Transfer Process (Using a Mug Press):
- Set Your Press: Preheat your mug press to the temperature recommended by your blank supplier. This is typically around 360-400°F (180-200°C).
- Press the Bottle: Place the bottle in the press and close it. The timer will start. The time needed also depends on the supplier, usually between 45-90 seconds. You may need to rotate the bottle and press it a second time for full-wrap designs.
- The Hot Peel: As soon as the time is up, open the press. Using heat-resistant gloves, immediately remove the transfer paper. This is called a "hot peel," and it prevents the ink from re-gassing and making the image blurry.
The bottle will be extremely hot. Let it cool completely, and you will have a stunning, permanent design.
Can I sublimate mugs from Dollar Tree?
You see a shelf of plain white ceramic mugs at the Dollar Tree for a bargain price. You think, "These are perfect! Can I use them for my sublimation projects?"
It's tempting to use cheap, readily available mugs. But trying to sublimate them will lead to complete failure and disappointment, wasting your time, ink, and paper.
No, you cannot sublimate on mugs from Dollar Tree or any other regular store. They lack the special polymer coating required for the sublimation ink to bond with the surface.
Dive Deeper: Why the Coating is Non-Negotiable
This is one of the first and most expensive lessons many beginners learn. I know I did! When I was just starting out, I wasted so many supplies trying to make it work on regular ceramics. I want to save you from that frustration.
The science is simple. Sublimation ink only bonds to polyester polymers. A standard ceramic mug is just baked clay with a simple glaze. There is nothing for the ink gas to hold onto.
Here’s what happens if you try:
- The Transfer: When you heat the regular mug, the ink will turn to gas as expected. Some of it might lightly stain the surface of the mug's glaze.
- The Result: You will end up with a very faint, faded, blurry "ghost image" of your design on the mug. It will look like a mistake.
- The Aftermath: Because the ink is not bonded permanently, you will be able to scratch it off with your fingernail. It will wash away completely in water.
To be successful, you must purchase mugs, bottles, or any other items that are specifically sold as "sublimation blanks." This means they have been manufactured with that essential polymer coating. While they cost more than a dollar store mug, they are the key to creating a product you can be proud of—or even sell. My business depends on sourcing high-quality blanks, often from reliable manufacturers in China where the technology is mature and cost-effective.
Conclusion
A sublimation water bottle is a specialized product that unlocks incredible creative potential. By understanding the process and its requirements, you can create durable, beautiful, and highly personal items.

Hi there! I'm Lucy, the guardian angel of two good children. During the day, I am a professional in the heat transfer printing industry, from factory workshops to running my own business. Here I share what I have learned - let's grow together!