What is needed for heat transfer printing?
Struggling to figure out your shopping list for heat transfer? The world of custom printing can feel complex, with lots of equipment and jargon leaving you feeling overwhelmed and stuck.
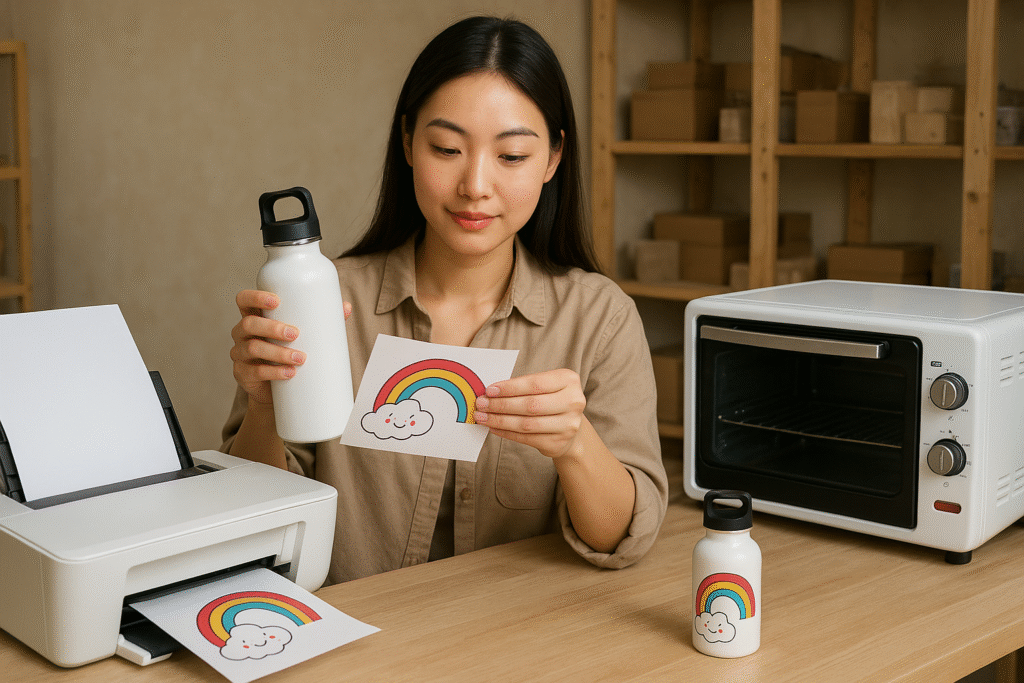
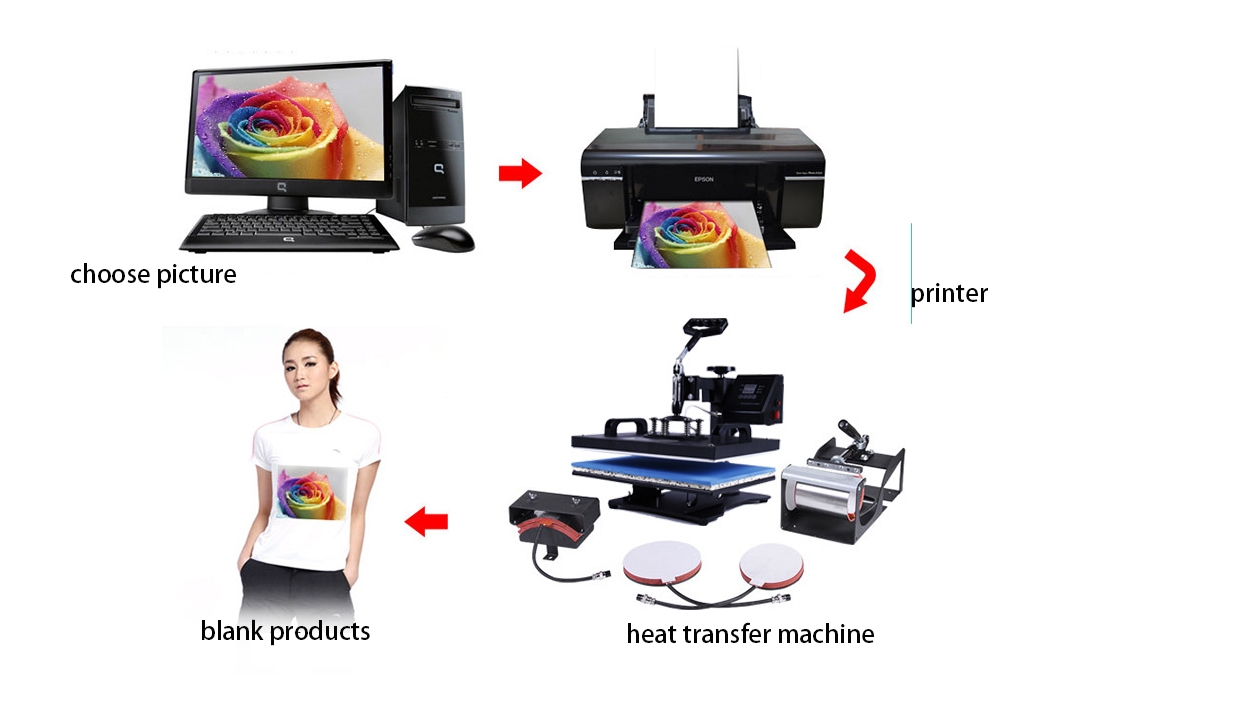
To start heat transfer printing, you need a computer with design software, a method to create a transfer (like a printer or a cutter), the transfer material (paper or vinyl), your blank item, and a heat press to apply the design.
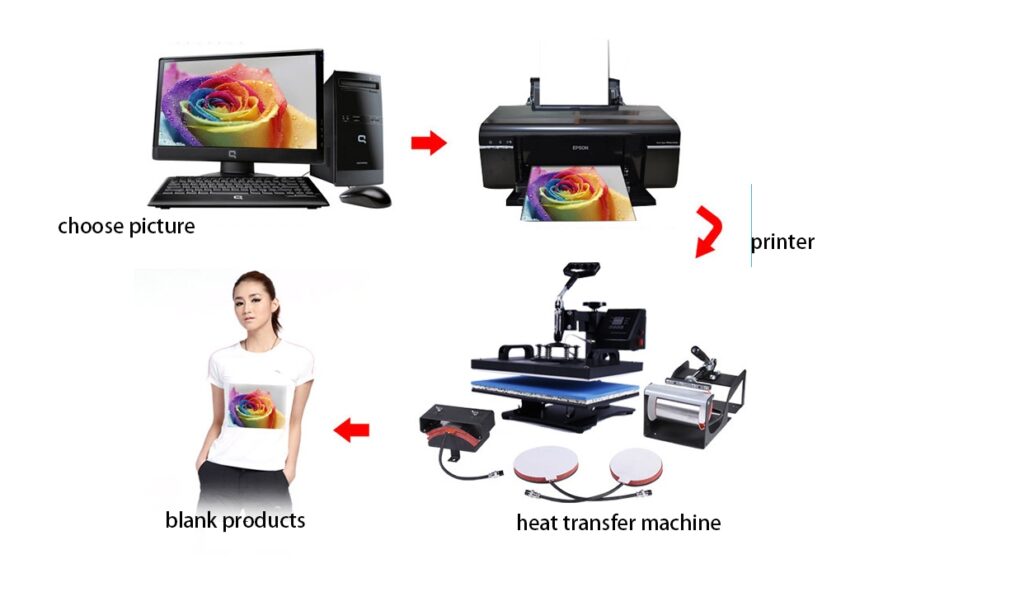
Getting all the right gear together can feel like a huge task, but it’s actually pretty simple once you break it down. I've spent over a decade in this industry, moving from simple projects to large-scale production, and I've learned what truly matters. It all comes down to choosing the right tools for the job you want to do. Let’s walk through exactly what you need, step by step, so you can start with confidence.
What is required for heat transfer?
Want to bring your custom designs to life but feel lost? The list of necessary tools can be confusing and stop you before you even begin.
You need four main things for any heat transfer project: a design on a computer, a transfer created from that design, a blank product to print on, and a heat press to apply it.
Let's dive a little deeper into these core components. I handle these every day, and getting them right is the foundation of every successful print. First is your design. This lives on your computer, created in software like Adobe Illustrator or CorelDRAW. Then, you need to get that design onto a physical transfer. This could be special paper you print on or a sheet of vinyl you cut. This leads to the heat press, which is the most critical tool. In my early days, I tried using a home iron, and the results were always a disaster—peeling designs and faded colors. A heat press gives you the consistent heat and pressure needed for a professional, long-lasting finish. Finally, you have your blank item, or "substrate," which could be a t-shirt, a mug, or a hat.
Do I need a special printer to print heat transfers?
Worried you need to buy an expensive, single-purpose printer? This is a common fear that keeps talented people from starting their own printing business, but it's not always necessary.
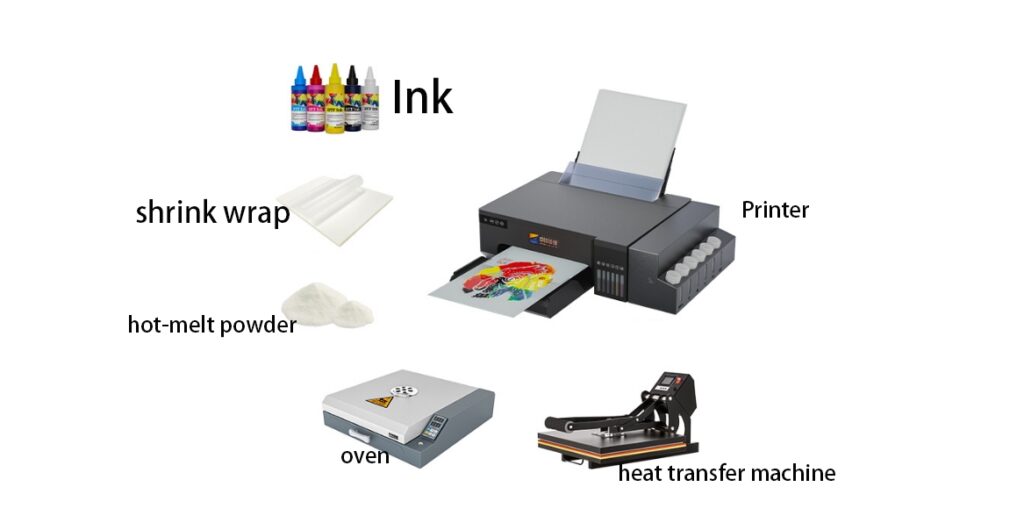
It depends on your method. For basic inkjet transfers, your home inkjet printer works fine. For dye-sublimation, you absolutely need a dedicated printer with sublimation inks. For heat transfer vinyl (HTV), you don't need a printer at all.
In my shop, we use different printers for different jobs, and each has its place. For simple projects or hobbyists working with cotton, a standard inkjet printer with good quality pigment ink works well with heat transfer paper. The startup cost is low. The main downside is that the durability isn't as good as other methods. For sublimation, you can't cut corners. You need a printer that only ever uses sublimation ink, like a Sawgrass or a converted Epson EcoTank. This is because sublimation ink turns into a gas under heat and bonds directly with polyester fibers. Using regular ink just won't work. We rely on these sublimation printers for sportswear and hard goods because the prints are permanent and vibrant. For HTV, the game changes completely. You don’t print the color; the color is in the vinyl itself. So, you use a cutter to shape the design.
| Transfer Type | Printer Needed? | Key Requirement | Best For |
|---|---|---|---|
| Heat Transfer Paper | Yes | Standard Inkjet Printer | Cotton fabrics, low-cost startup |
| Dye-Sublimation | Yes | Dedicated Sublimation Printer & Ink | Polyester fabrics, coated hard goods |
| Heat Transfer Vinyl (HTV) | No (for solid colors) | Vinyl Cutter | Cotton, Polyester, Blends, simple logos |
What materials are needed for a heat press?
You finally have your heat press, but your designs are coming out blurry, scorched, or off-center. You're likely missing a few simple but essential supplies that make all the difference.
Beyond the transfer and your blank item, you absolutely need heat-resistant tape to secure your design, parchment paper or a Teflon sheet for protection, and sometimes a pressing pillow for even pressure.
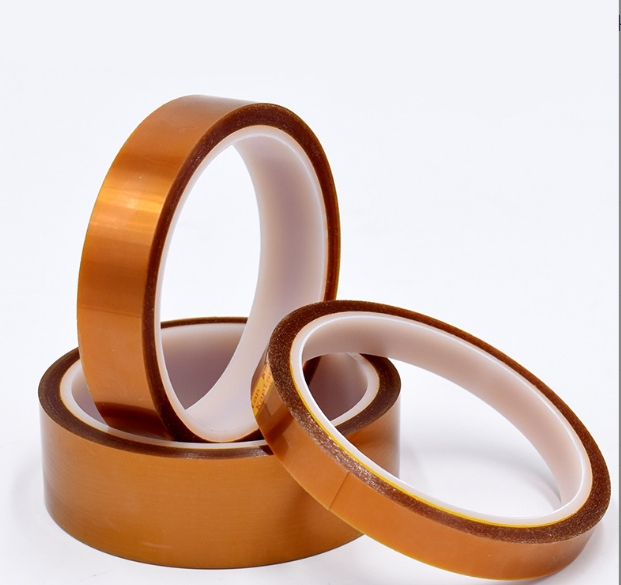
These small items are non-negotiable in my workflow. Heat-resistant tape is my best friend, especially for sublimation. It holds the paper perfectly still, preventing the "ghosting" or blurry edges that happen if the transfer shifts even a millimeter during pressing. Next is a protective sheet. I use either a reusable Teflon sheet or a disposable piece of parchment paper. This goes between your transfer and the hot plate of the press. It stops any ink from bleeding onto your press and protects your garment from scorching, which is critical for achieving high-quality results. Finally, pressing pillows are problem-solvers. When I'm pressing something with seams, buttons, or zippers, like a polo shirt or a hoodie, a pillow placed inside ensures the pressure is applied evenly across the design area. Without it, the pressure would be focused on the thick seams, leading to a weak application in the center.
What do I need for HTV printing?
You're excited to make custom shirts with vinyl, which is fantastic! Getting the right tools from the very beginning will save you a lot of frustration and wasted material.
For Heat Transfer Vinyl (HTV) projects, your essential list includes a computer with design software, a vinyl cutter, the HTV material itself, a weeding tool to remove excess vinyl, and a heat press.
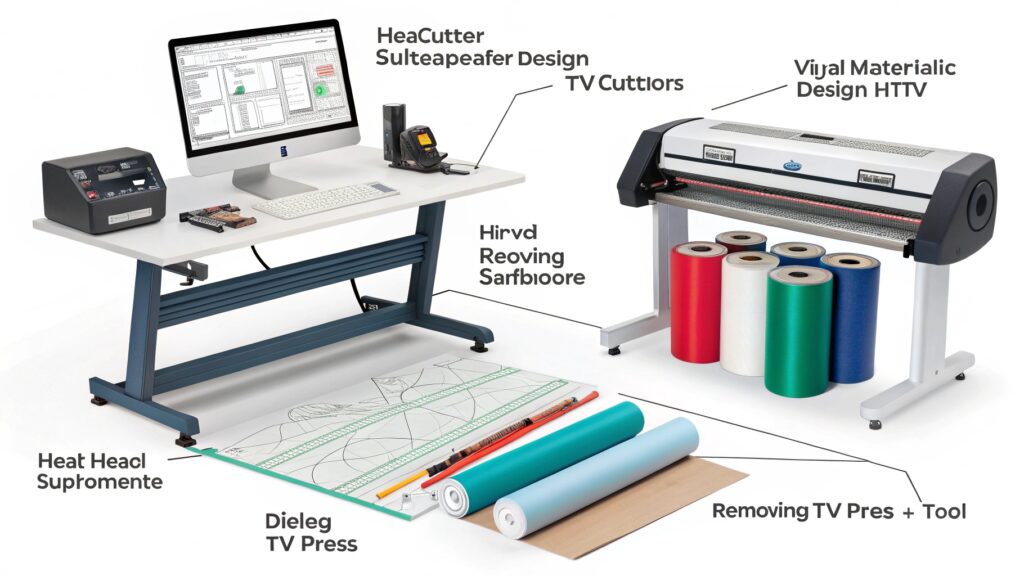
Let's walk through the HTV process. It all starts on the computer. For most designs, the software that comes with a cutter like a Cricut or Silhouette is enough. For complex, layered designs, I’ll prepare the files in Adobe Illustrator first. The most important step here is to mirror your design before you send it to the cutter. I’ve seen this simple mistake ruin more projects than anything else. Next, the vinyl cutter cuts your mirrored design into the sheet of HTV. Once it's cut, you use a weeding tool—which looks like a dental pick—to peel away all the vinyl that isn't part of your design. This leaves your design on a clear, sticky carrier sheet. Finally, you place it on your garment and use the heat press to apply it. Using a press instead of an iron is key for durability, as it provides the exact temperature and pressure needed for the vinyl adhesive to properly bond with the fabric.
Conclusion
Getting started with heat transfer is straightforward. You need a design, a transfer method, the right materials, and a heat press. It's more accessible than it looks.

Hi there! I'm Lucy, the guardian angel of two good children. During the day, I am a professional in the heat transfer printing industry, from factory workshops to running my own business. Here I share what I have learned - let's grow together!